
I’m very smitten with the look of board and batten trim. I’ve always wanted to have it. I’ve obsessed over it for years. Why? It’s gorgeous. It is very simple and classic looking and can quickly dress up and transform an otherwise boring room.
Board and batten trim installation is something I never thought I was qualified for. I mean, I didn’t even have a saw. Even if I did buy a saw I had no idea how to use it. How would I ever be able to do any trim by myself?
Just Dive In, It’s Okay!
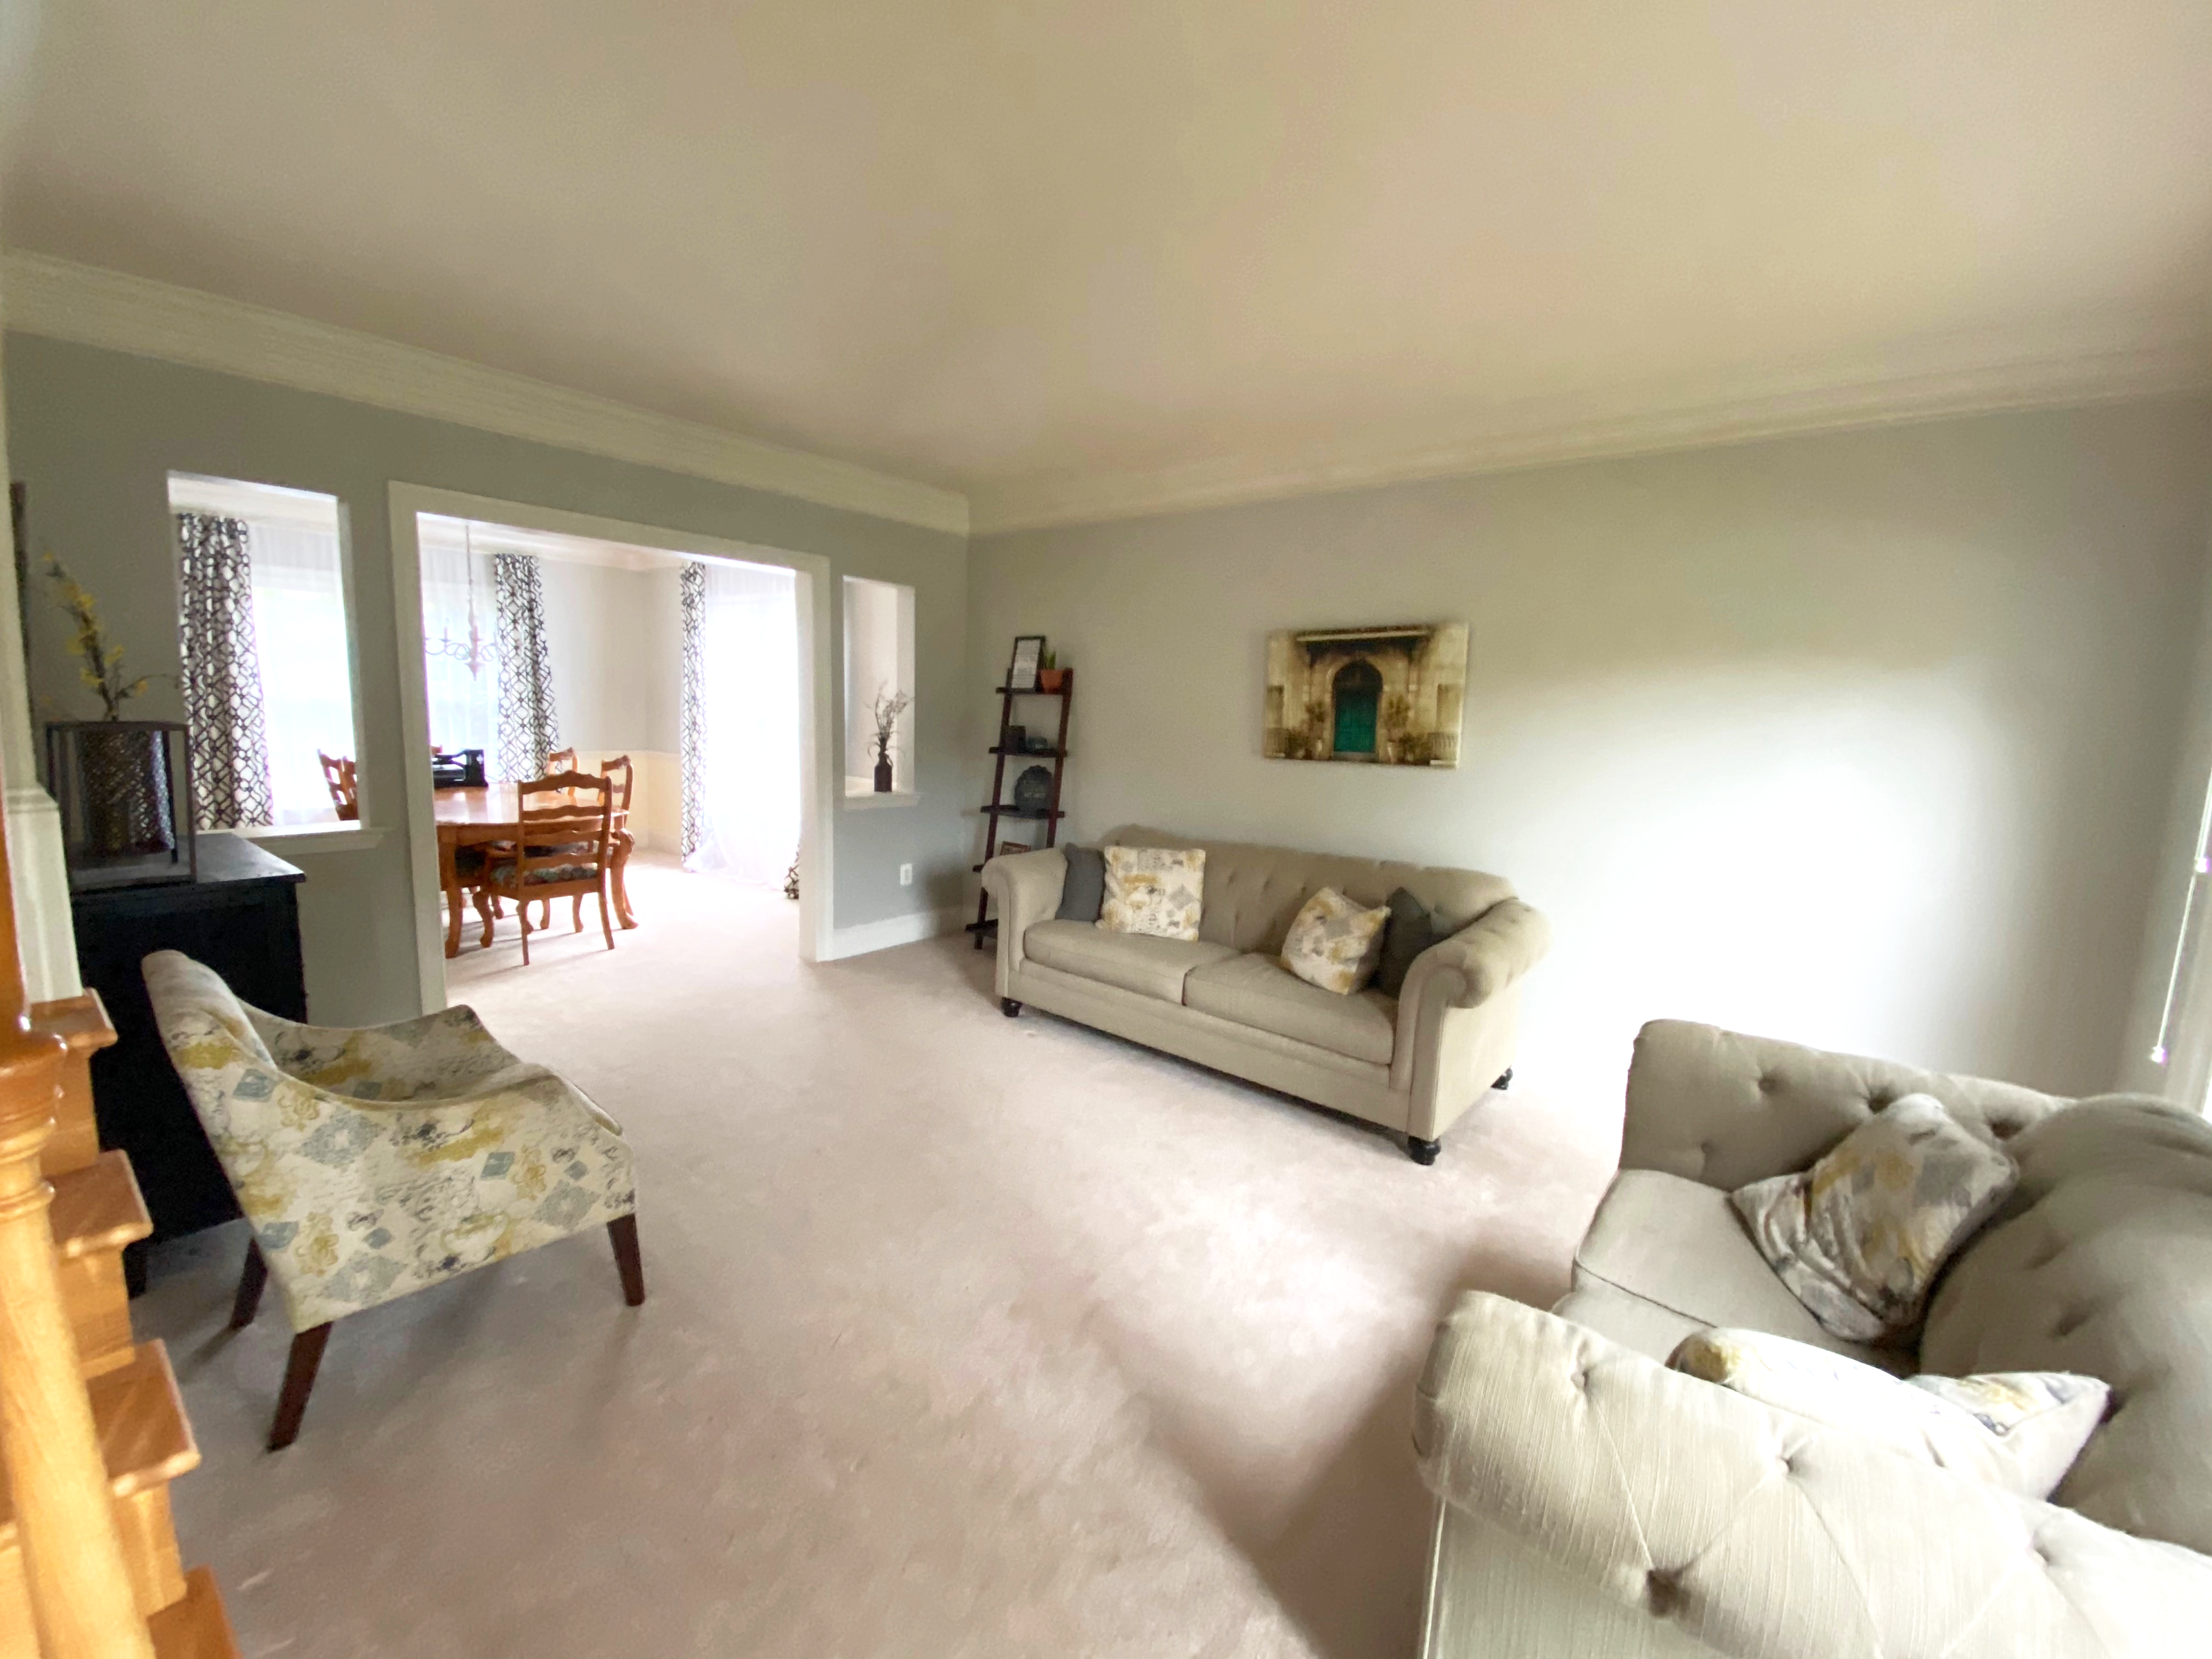 Although I wanted it for so long, I just didn’t think I was qualified. But seriously. My living room was ultra-boring and plain. It needed something because I was having a hard time looking at it anymore. Since we moved in, it has been the living room and dining room that was driving me the most crazy. I finally psyched myself up and bullied myself into believing I had nothing to lose. I mean, so what if I screwed up, right? Everything is fixable. So off I went to Lowe’s for materials.
Important tip for Board and Batten trim installation: Paint the components first!
One tip that we didn’t follow on this project, that we have for projects since this one, is be sure you already have the wall painted, and the boards painted, before you put the boards on the wall. While this isn’t a required step, believe me, it will make your life far easier. You will still have to caulk, and paint some after, but it’s far easier this way.
Problem? Who said there was a problem?
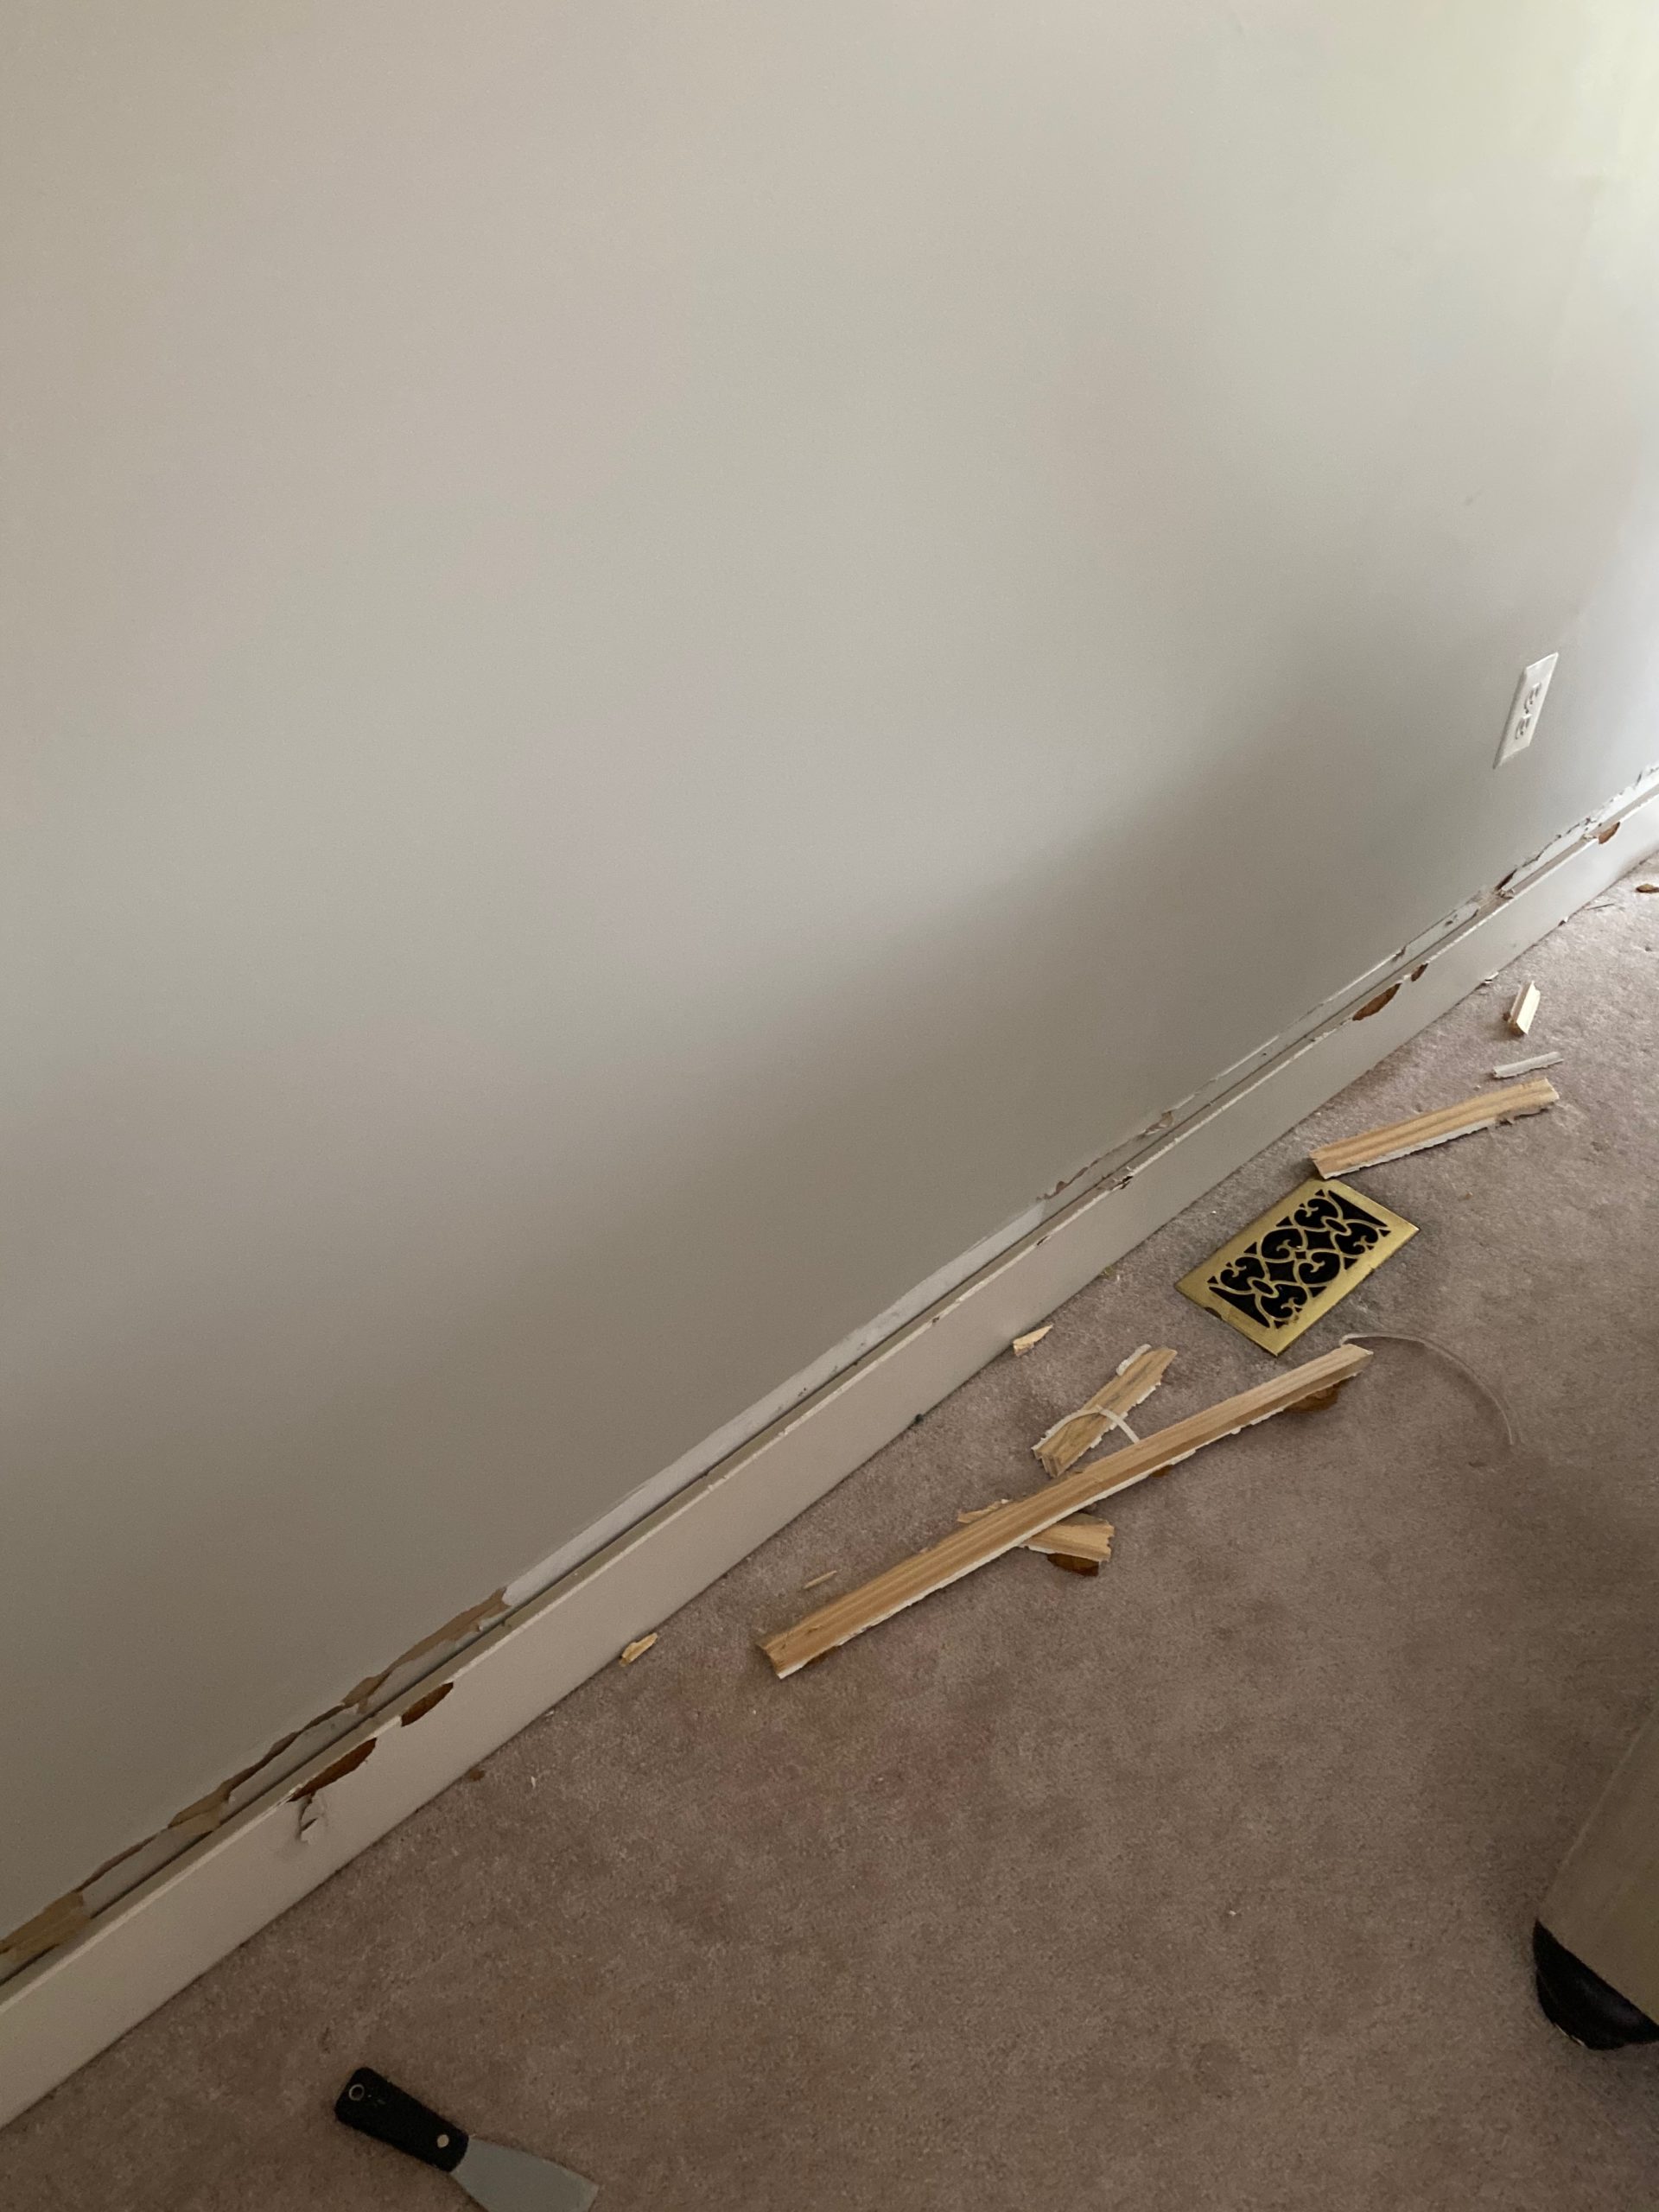 The first problem I encountered was the baseboards. The bottom baseboard was fine, but the baseboards all had an extra strip of trim glued on to the top of the 1×6 MDF baseboards. Because the accent trim was flush with the wall at the top, something had to happen for the board and batten to rest on top of it. Once we started prying this smaller, decorative trim off it started ripping the wall and the MDF baseboard. Turns out a lot of glue seems to have been used. Ugh. This forced me to put down completely new baseboards to hide the tears in the walls and prior baseboards.
This was largely because the MDF started peeling off. I sure wish the builder would have used real wood! I decided to do 1×8 wood for my new baseboards to cover up the mess created with pulling off the prior baseboards. Because I didn’t plan for this glitch, I was off to Lowe’s to get those 1x8s before I could proceed.
Don’t forget to paint first!
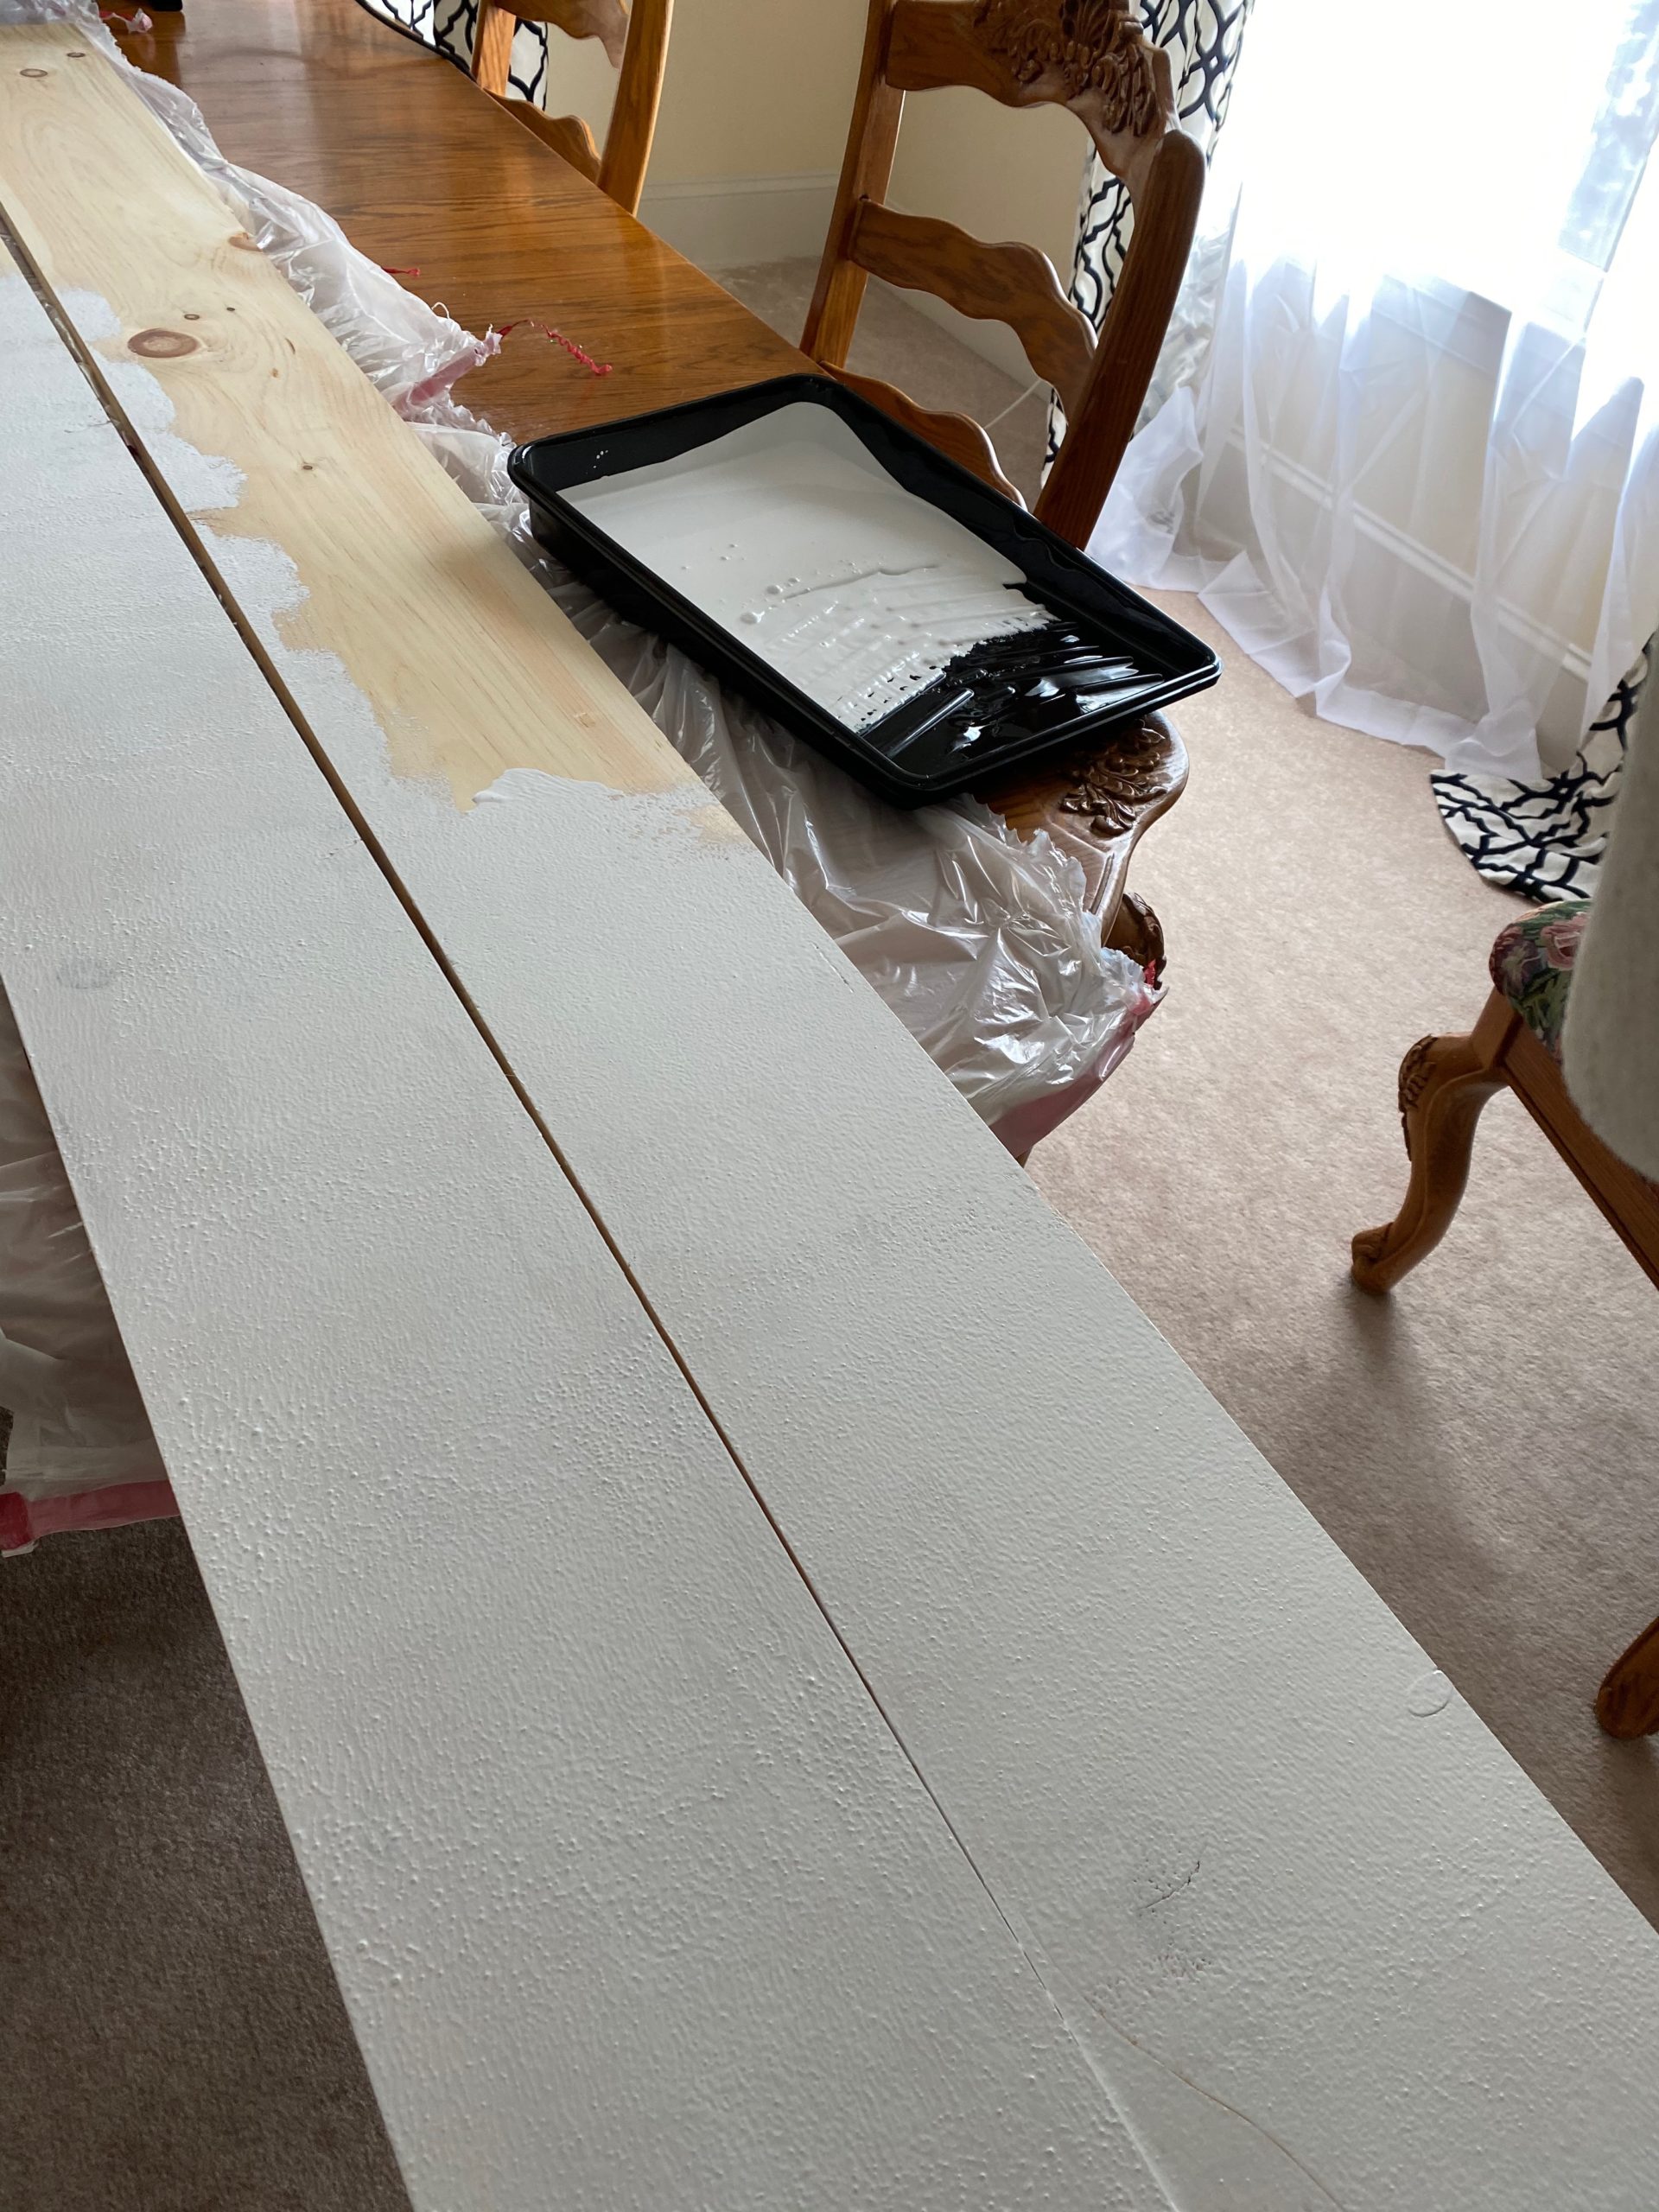 Always paint your wall and boards before you start pulling it all together. I know it seems like an unnecessary step, but believe me. After you put those boards on the wall it can be much harder to get full coverage. When you lay them flat and run a roller over them, it’s just far easier and faster to paint.
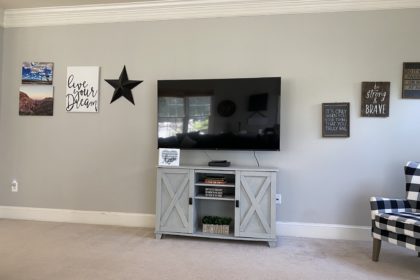
I’ve now done this project both ways and I can definitively say painting before you put the boards up is the way to go. When I did this project, I actually skipped this step. That’s why the picture shows unpainted boards. This was a mistake. Although it is an extra step, you will definitely save time when you do it this way. You will also save yourself a lot of aggravation. None of the “hey you missed a spot” dialogue with this method.
Putting your board and batten trim on the walls.
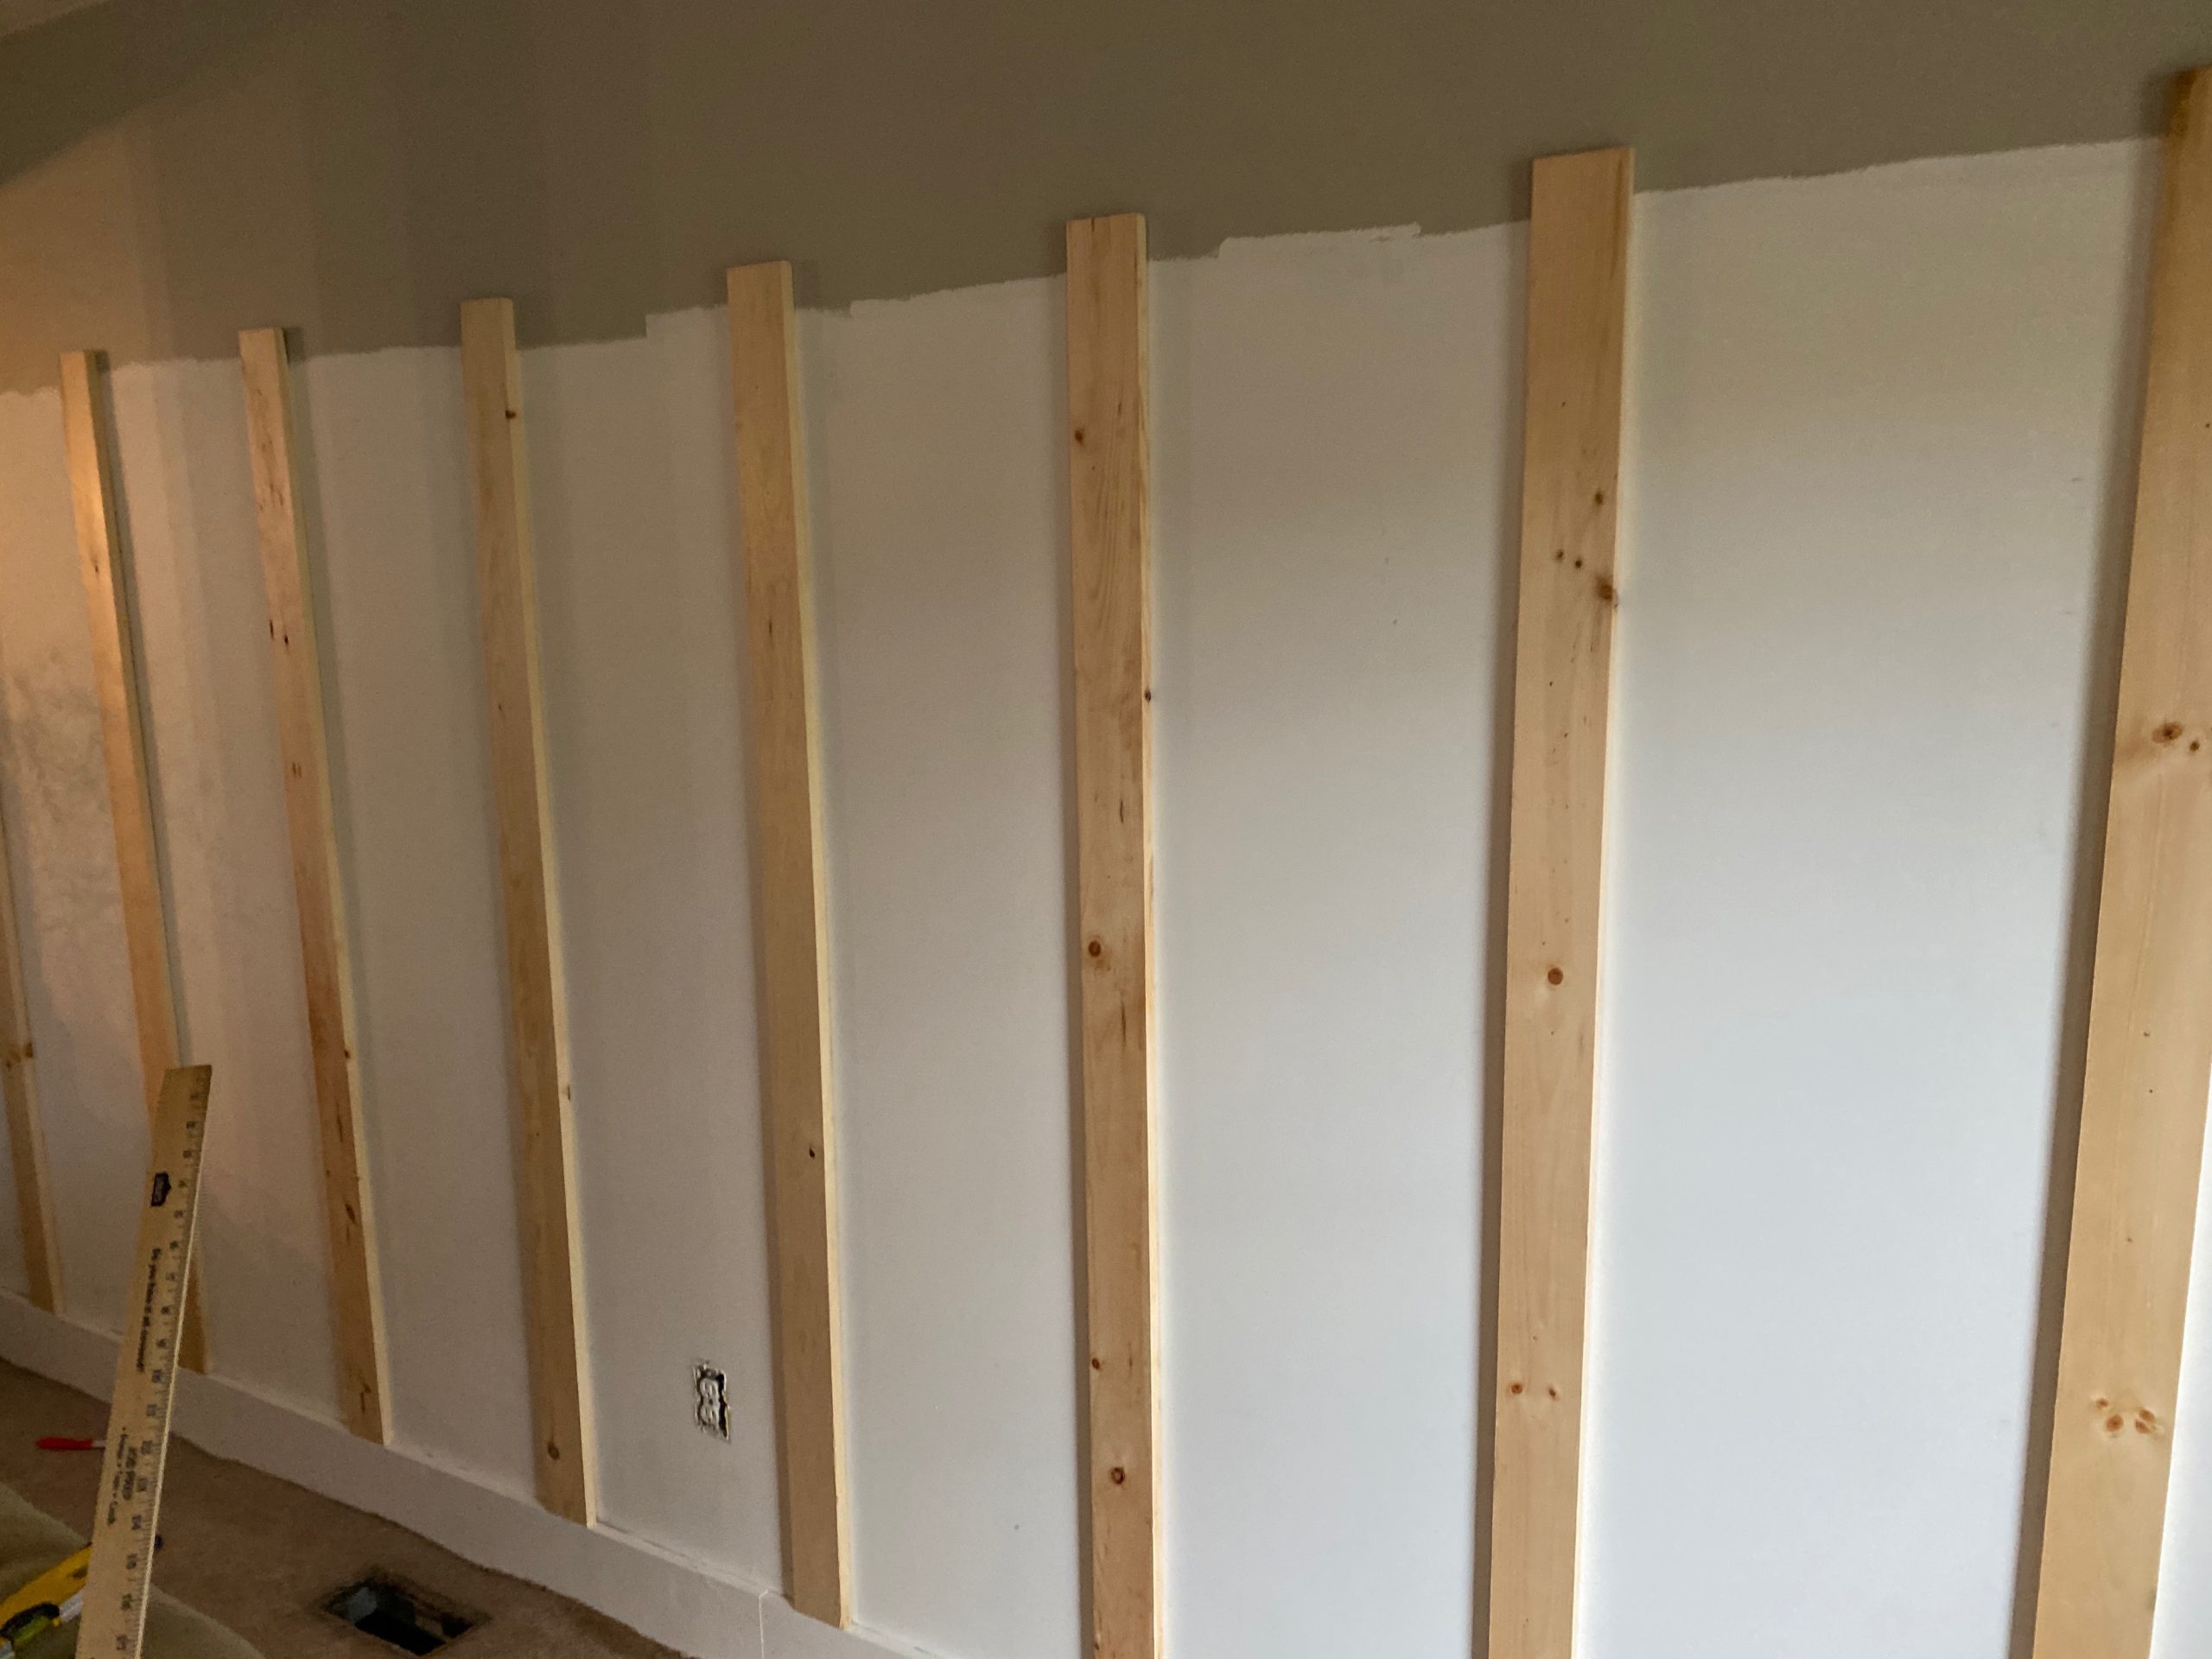 After I got home with the 1x8s I painted them white and installed them around the base of the wall with my brad nailer. After I did this we installed the already painted 1x4x6s vertically along the wall. We went with 16.5″ spacing between the 1x4s because I knew I wanted a board in each corner. This is something that is entirely up to you to decide. Some people prefer to only put it into studs, we just did the roughly 16.5″ between the boards because it was the perfect spacing for our tastes.
After the 1x4s were up on the walls it was time to put the 1x6s horizontally on top. This was so exciting! The look was coming together! And wow! Did it look amazing!
Caulk, caulk and more caulk.
Just go ahead and grab a whole handful of caulk when you are doing a trim project. I think I grabbed ten or so of painter’s caulk. This stuff is the bomb. And believe me, you will need a ton of it for your board and batten. You will want to use it in all of the cracks and crevices to give your board and batten a polished look. you will also want to put it over the nails to hide these. So caulk away, smoothing the caulk lines with a smooth wet cloth.
Let the caulk dry and hand sand the rough parts.
Just relax now. You don’t want to do anything until that caulk dries thoroughly. I just quit for the day and started back the next. I went around the room with a hand sander and got the rough parts. Just lightly sand any bumps until you smooth it out.
Touch up paint or repaint it all.
You need to have a high quality angled brush on hand to do the crevices and edges of the boards. Don’t go cheap on the brush. Trust me. Get a good one then just make sure you rinse it out well. Then a roller should be used afterwards between the boards and on top of the boards for a smooth look. It can’t hurt to put a second coat on everything.
You can do this!
If you have been wanting board and batten trim, just go for it! This was the first major home improvement project I decided to do in my house and I haven’t regretted it or looked back. This board and batten project was definitely a confidence booster.


