I really didn’t fully understand the process of LVP Installation when I got started. I had watched countless YouTube videos of people installing the floor, but none prepared me for the realities and some of things to watch out for. They make it sound so easy when they are showing you, but it’s not quite the whole story. While installing luxury vinyl planks is not hard, it’s not really easy either. It’s somewhere in between, with some definite things you should know and watch out for.
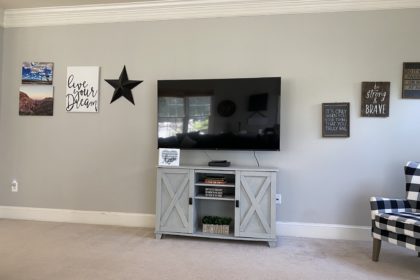
 The carpet in the living room and dining room drove me crazy. I looked at it every day, shaking my head, vowing to do something soon. Fast forward almost two years and there I was, still shaking my head at the carpet every day. One morning I got up and had enough and decided the day had arrived. I drove to Lowe’s to purchase my materials, I was making a change.
Now before I drove to the store to purchase supplies, I did a lot of research to decide what I was most interested in and what would work well for me and my family. I wanted the look of real wood floors. I didn’t want warping if spills got left on the floor. It was very important that the floor didn’t crackle when you walk on it. How annoying that is.
Making the decision about which flooring option was best.
I had been researching every possible flooring type online. Well, not quite true. Initially, the only product that I was even interested in was real wood floors. Real wood has always been my favorite. If it were up to me, I’d have every room redone in wood. But then I remembered, I have five kids living in the house. Out of those five kids, only a couple would wipe up water they drip, or spill, on the floors. With wood floors, this presents a problem. So perhaps I needed a different option. Not a fan of tile. Hate carpet. Linoleum and vinyl? Never a consideration.
 Right before I hit my old carpet tolerance limit, I had to rehab a condo that had been trashed. Some of the floors were in really bad shape and were a total mess. I had installed luxury vinyl planks to replace or cover the ugly floors there. I had been very impressed with the fact that they looked just like real wood without crackling when you walk, something that is intolerable to me. LVP floors, when installed correctly, are waterproof. Ding, ding, ding! This was my solution.
I didn’t pick this flooring type because LVP is the cheapest option because it’s not. Especially when you get one with a lot of variations and texture. So I had spent hours searching the internet for installed luxury vinyl plank in houses. I had to see a zillion pictures before I was comfortable that LVP was seriously my best option. To get real wood with the variations I wanted we were talking an arm and a leg. I could get a beautiful floor with LVP for far less, roughly the price of cheap wood. I decided given the destructive capabilities of my family, and the fact that I wanted that great variety in colors, LVP was my only reasonable option.
Choosing the right luxury vinyl plank.
Since I had installed SmartCore LVP in the condo a month prior when I rehabbed it, I knew how to install this one. I knew how it fit together and that the quality was good. Just to be sure, I looked at tons of reviews for this and different brands of LVP just in case there was something I was missing. I was comfortable that SmartCore luxury vinyl planks were the way to go. Now to just settle on the color.
They had three different types available locally. I had used the cheapest tier in the condo, but still thought it looked amazing. But when it came to doing bigger rooms in a house, I really wanted more variety. The lowest tier, in general, has the least variation in colors and textures. Based on extensive online searching I had narrowed it down to Shady Pine (lowest tier product) and Woodford Oak.
My favorite thing about SmartCore was the fact that the acoustical pad was already attached to each plank. This meant I didn’t have to do the extra step of adding an underlayment. Because I’m all about easy, this was my deciding factor initially. The Woodford Oak Luxury Vinyl Plank had an upgraded underlayment. This coupled with the fact that I couldn’t find Shady Pine in person, to look at and touch, swayed me to go the route of using the Woodford Oak LVP.
 So now that I knew which LVP to purchase, I was off to Lowe’s to load up. I already had the LVP installation kit that contained the spacers and tools to help lock the planks into place, so I didn’t need those this time.
If you are installing LVP flooring and don’t have the installation tools, get them. They are very important because you can’t bang the planks into place without damaging them without these tools. I went ahead and picked up blue tape which you need to hold the spacers into place along the baseboards since I didn’t have any on hand.
Prepping the floor for LVP Installation.
 Now I was on to cutting the carpet with a blade and pulling that and the padding up. Talk about disgusting! Have you ever examined padding that has been down underneath carpet for years? It’s really pretty awful. Doing this could possibly convince you to never have carpet again. It was such a relief to get out the old carpet and have a clean slate for my creation. This step also involves pulling out the random staples they may have used to get the padding to stay in place. Additionally, you have to pull up those spiky carpet tacks along the edges. You can do both jobs with a flat head screwdriver. You just put it underneath and should be able to easily pry it up. You also need to scrape any sheetrock mud globs your builder may have dropped on the floor and left. You want the surface to be as free from any variance in a level surface if possible. If your surface has too many variations you may need to use a leveling product first.
Installing Luxury Vinyl Plank.
 After we did all of this, we were ready to get to the great part, installing the LVP. Installing Luxury Vinyl Plank can be frustrating. I did feel like the Ultra product was a bit harder to install than the lower end product. I’m not sure, but I think this has to do with the fact that this mid-tier product is more rigid than the lower end products but I felt like this was less forgiving of variations and level issues. Our sub-floor wasn’t completely level in some spots. I had to hammer down some nails here and there but I couldn’t do anything about subfloors that were not level at joints, so I just had to hope for the best.
Luxury Vinyl Plank spacing.
When you get started, remember you have to leave space for the planks to expand and contract with temperature changes. If you butt it all of the way up against your wall or baseboards, you will likely have trouble. You can buy the spacers and tape them to the baseboard to make sure you keep your spacing right. And be aware that you should carry them under the door trim. If there is no space between your door trim and the floor, you’ll want to saw off some space with a little handsaw so you can fit the plank underneath.
Make sure your LVP is completely locked in.
 The most important thing to remember when you are installing LVP is the planks have got to be completely locked together. There is no margin of error here and no room for mistakes. If you see white between the planks, it is NOT locked together and it will not be waterproof. My particular floor is brown between the planks when it is locked together. I didn’t realize this at first when I was doing the floor in the condo and there were some that were showing white. As a result I had to rip up the whole floor and reinstall it correctly. It sounds so simple, but keeping the white away can be really difficult at times.
Keep an eye on your prior rows of luxury vinyl planks.
As you install each successive row you need to go back and look to make sure nothing has popped back out. There were certain rows we had incredible trouble with. I suspect this is because our surface wasn’t completely flat in spots and it was just enough to cause the joints  to not stay intact. You do have to put the planks in at a particular angle and hammer it into place using the tools so the floor doesn’t get damaged. The tongues break off very easily, and when they break off, you need to discard that piece. So whatever you do, don’t hit the wood directly with a hammer. Only hit the installation tools with the hammer to avoid damaging the planks.
Because we had a problem with planks popping out on successive rows, the job took longer than we hoped it would. I’ve seen others say these LVPs don’t pop back out after they are locked in, but I can tell you they absolutely do. Keeping an eye on prior rows as you go can save you a lot of time in the long run. Initially I had to tear up half of the living room floor because some of the earlier rows had popped out. And they were completely together initially. Towards the end we did get faster as we fell into a groove with the installation.
Wow! Our SmartCore LVP is gorgeous!
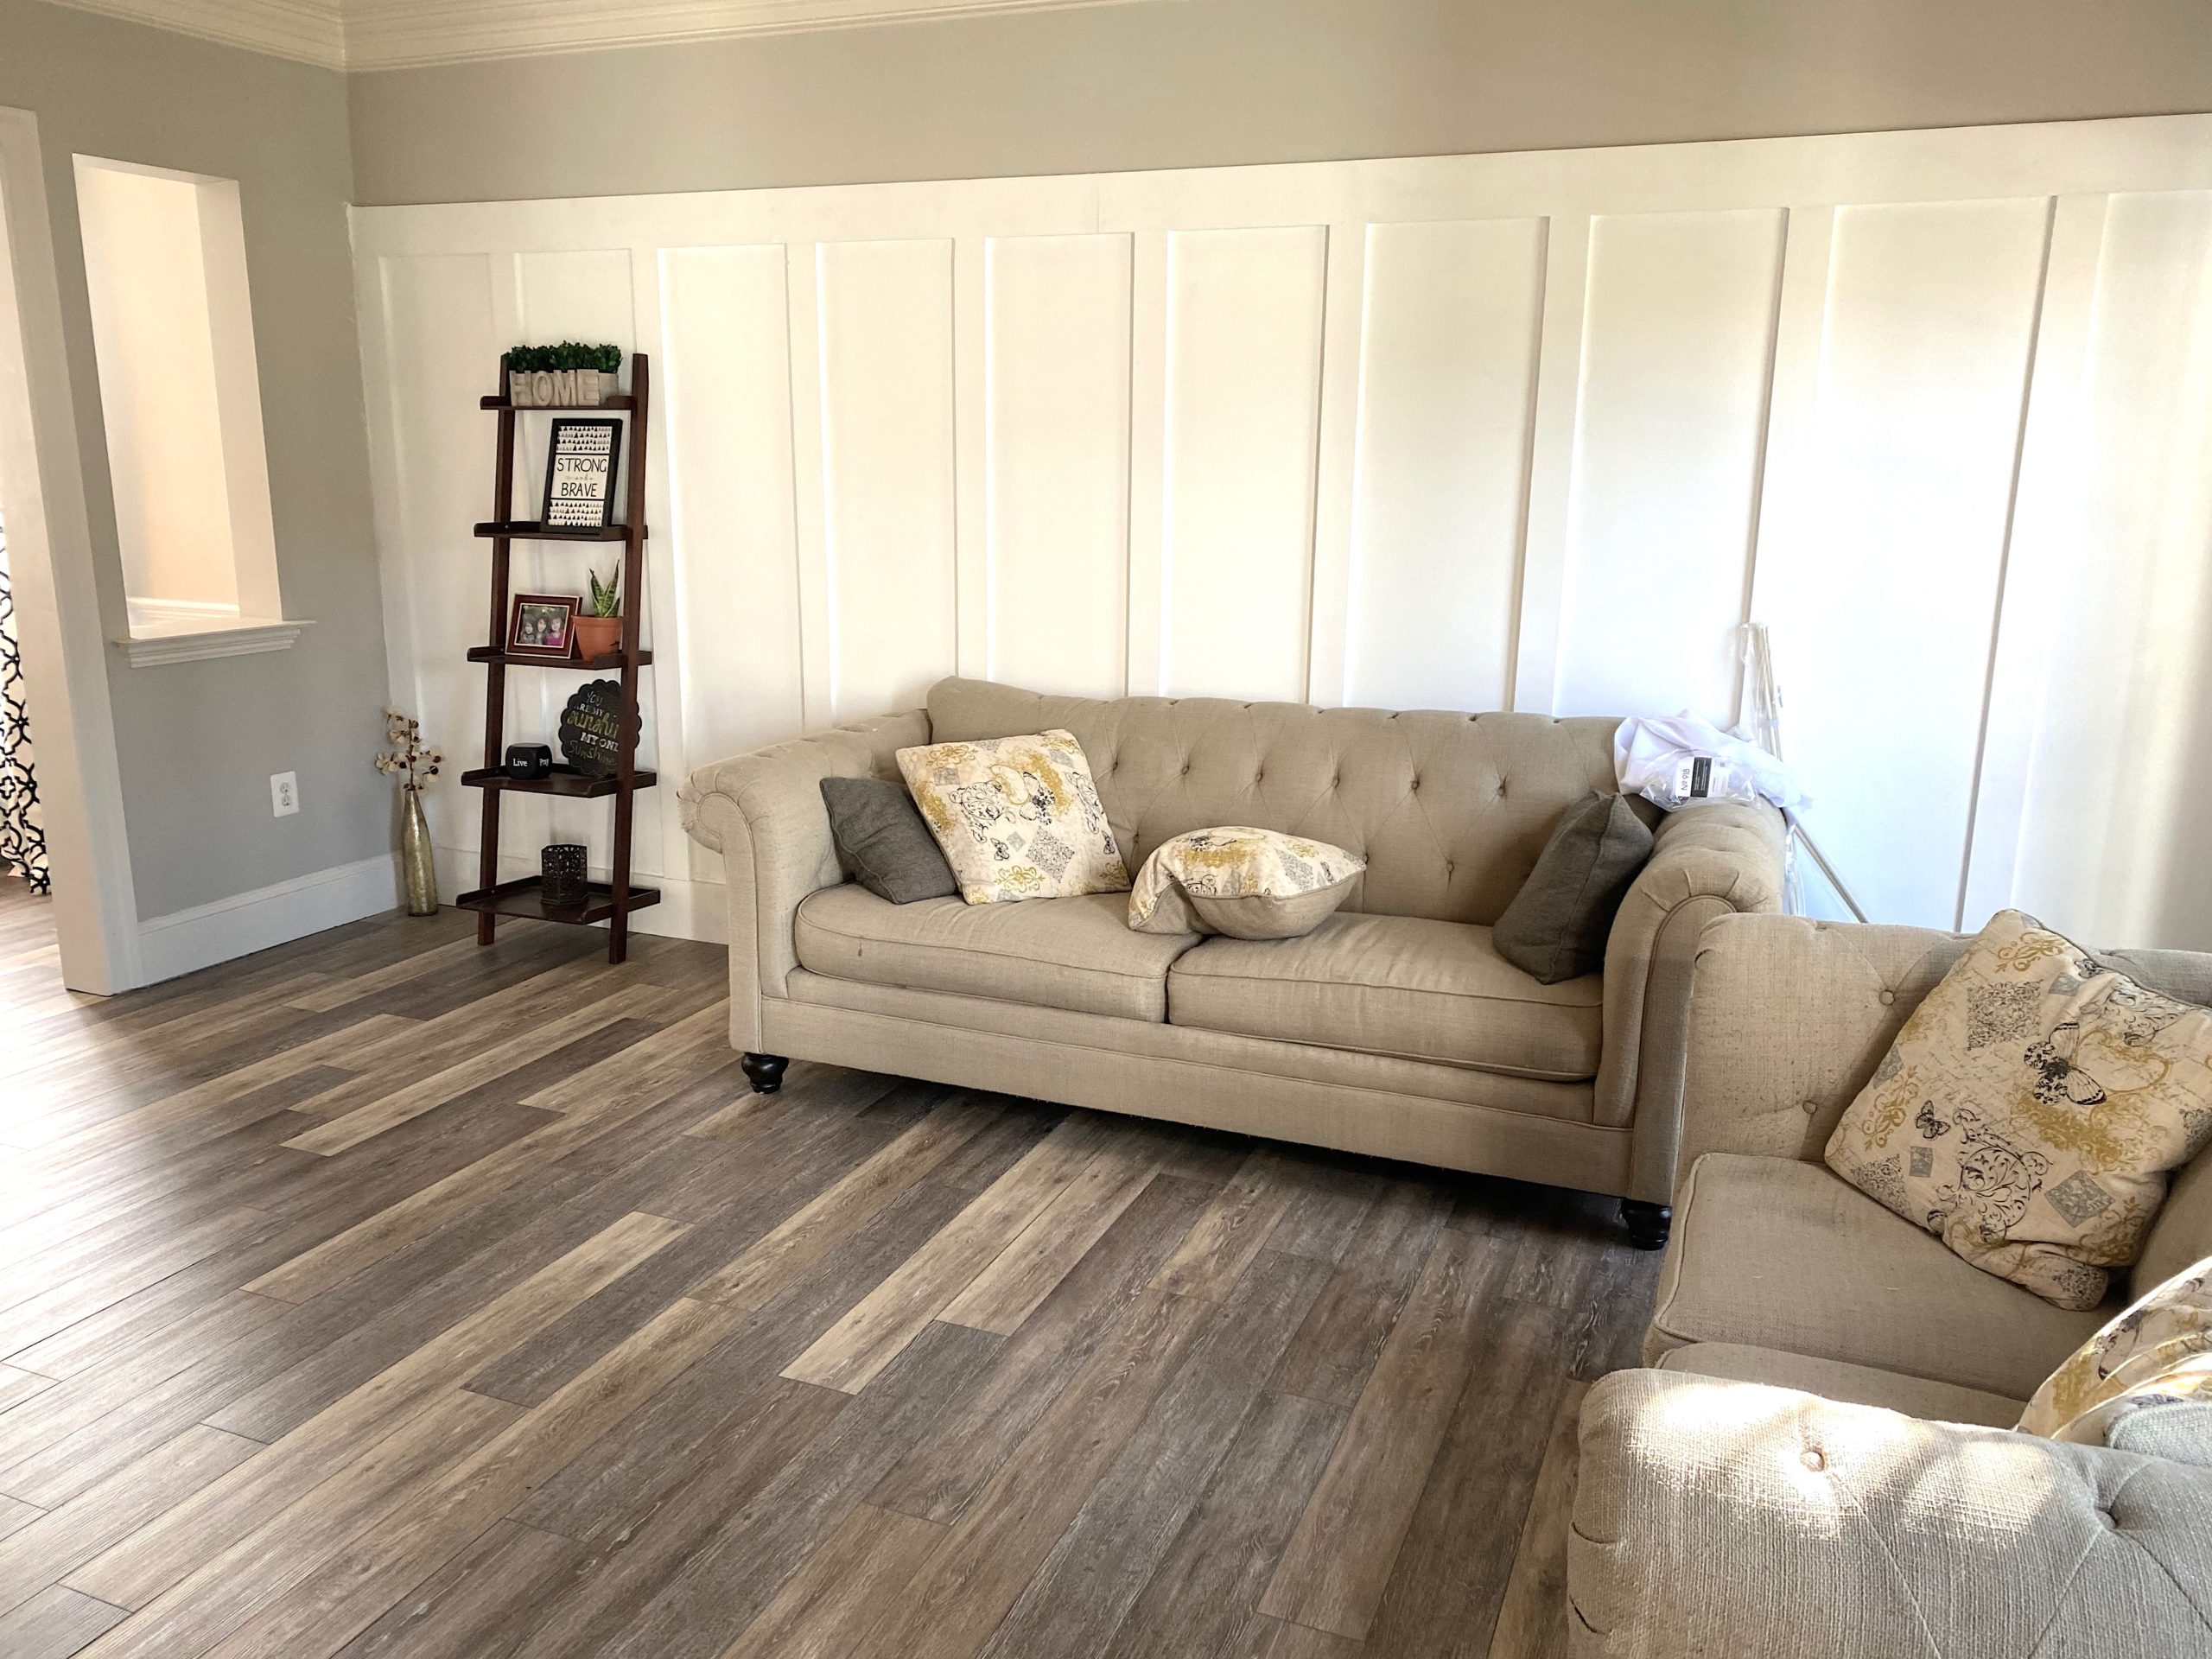 I can not express how happy we are with our SmartCore Woodford Oak LVP. This luxury vinyl plank is absolutely perfect for us. We have now been living with this flooring for around six months and it still looks just like when we installed it. This is despite tons of running, dancing, gymnastics, drops and spills over the past six months. My girls have done quite a bit of tumbling on these floors and nothing has shifted or popped out since installation. Additionally, clean up is exceptionally easy. I couldn’t ask for a better floor than my SmartCore Woodford Oak Luxury Vinyl Plank.