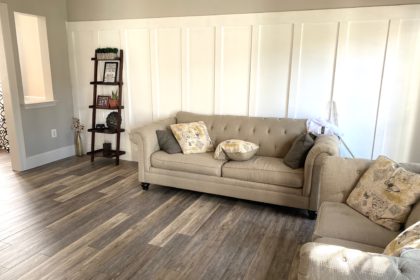
Today is about budget kitchen transformations and the best way to paint cabinets. So one thing that has bothered me since we moved in to our house is that our kitchen is so dark. The kitchen is on the east side of the house so bright light is limited to mornings. To top that off there is a line of trees that blocks morning sun, 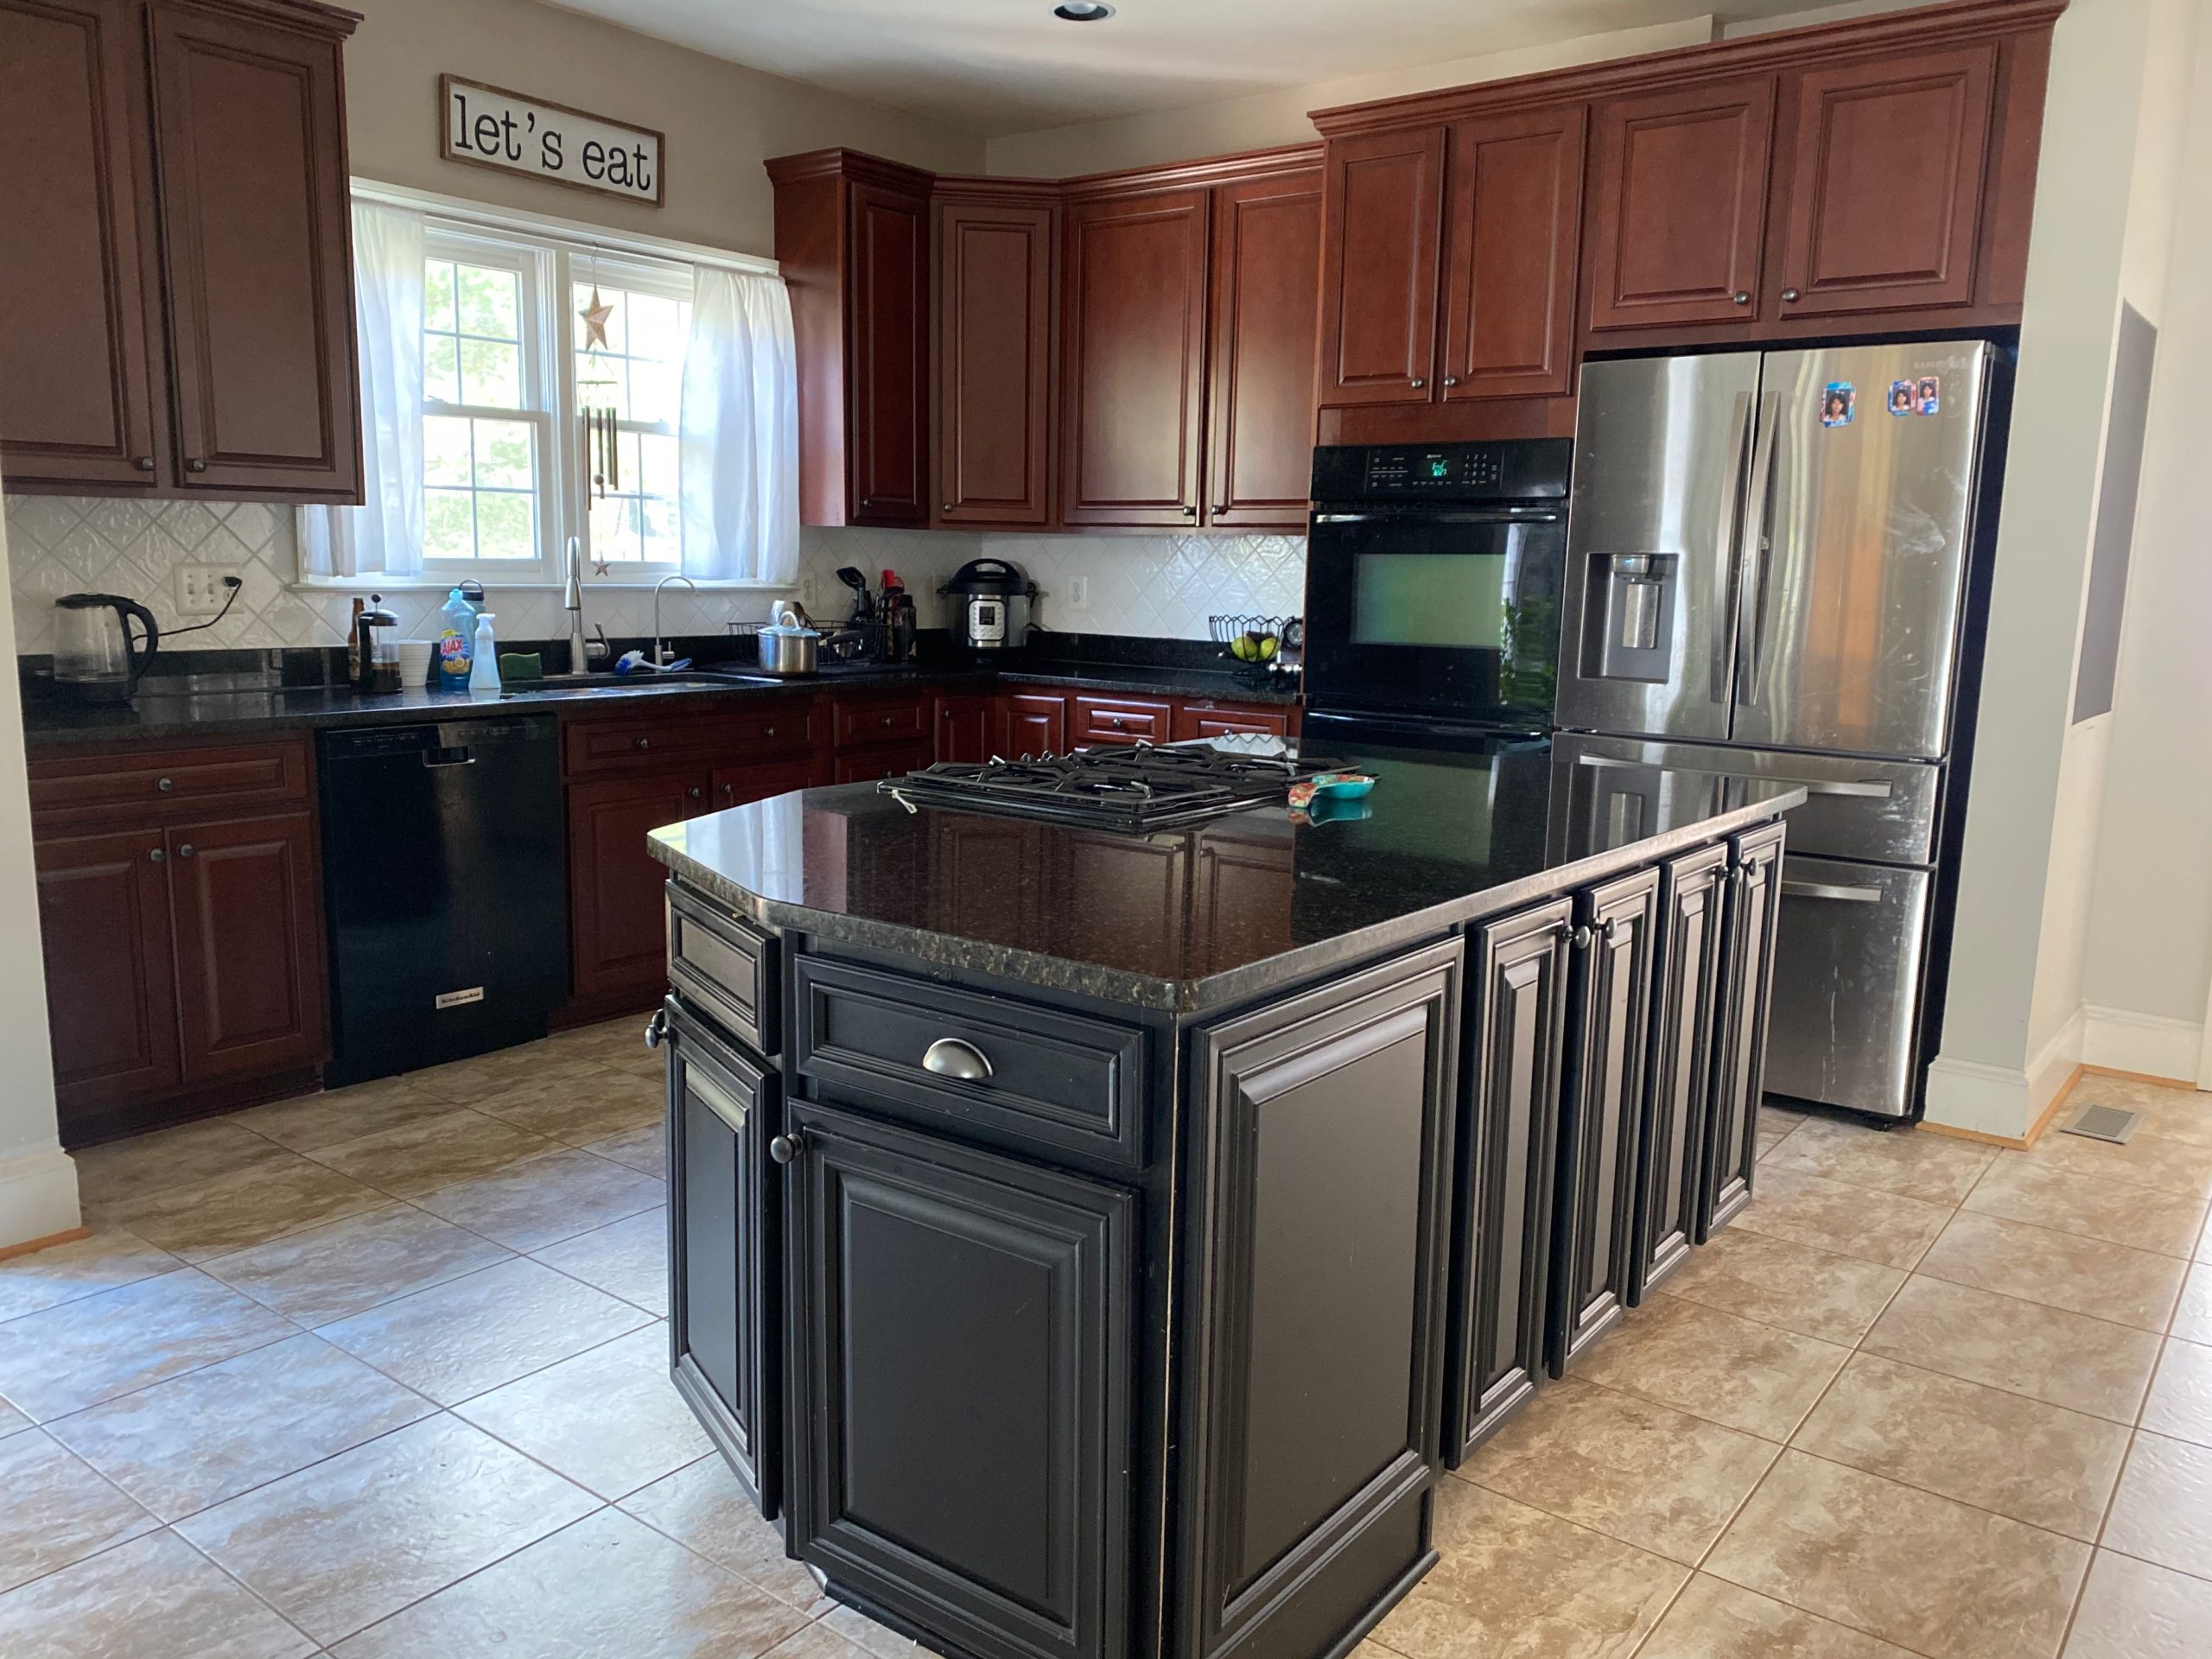 so at best we get dappled sunlight briefly in the mornings. When we moved in the cabinets were a dark cherry color with a black island. So the colors in our kitchen, combined with limited direct light, brought us a dark dreary kitchen. A dark kitchen is very bad for my mood. So naturally this was one of the first things I wanted to change.
Although I identified immediately that I needed a huge change in my kitchen, I hemmed and hawed for a year and a half. Why? Because painting the kitchen cabinets seemed so overwhelming. Ominous thoughts filled my mind every time I started to get started. What if I mess them up? What if I decided later I wanted this color back? What if I chose the wrong method and my kitchen ended up looking worse. I whatiffed myself practically to death.
Planning and deciding the best way to paint kitchen cabinets.
Finally, after months of searching online and researching the best method of painting cabinets, I decided to dive in. Winter was looming and a long, dreary mood would be arriving with it. What better time to brighten up your home and bring some extra cheer than October.
My biggest priorities in determining how to paint my kitchen cabinets:
- I needed it easy. Who needs a million steps to a project?
- I didn’t want runny paint. Nothing messes up a project like ugly paint drips.
- I didn’t want brush streaks or roller texture.
- Durability mattered.
- I didn’t want to smell to overwhelm while painting was in process.
- Easy maintenance. I didn’t want to have to do a million things to maintain the looks of the cabinets.
Because of these priorities, my research caused me to discover an awesome mineral paint. I had just rehabbed another kitchen using chalk paint. While I liked the look of the chalk paint, I didn’t like some of the things about that paint for the kitchen. It was hard to get the brush streaks out and this is a look I just don’t like. I discovered mineral paint had a similar look, but seemed to avoid the biggest problems I had with chalk paint. I decided to go with Fusion Mineral paint and I’m so glad I did.
Picking my kitchen cabinet colors.
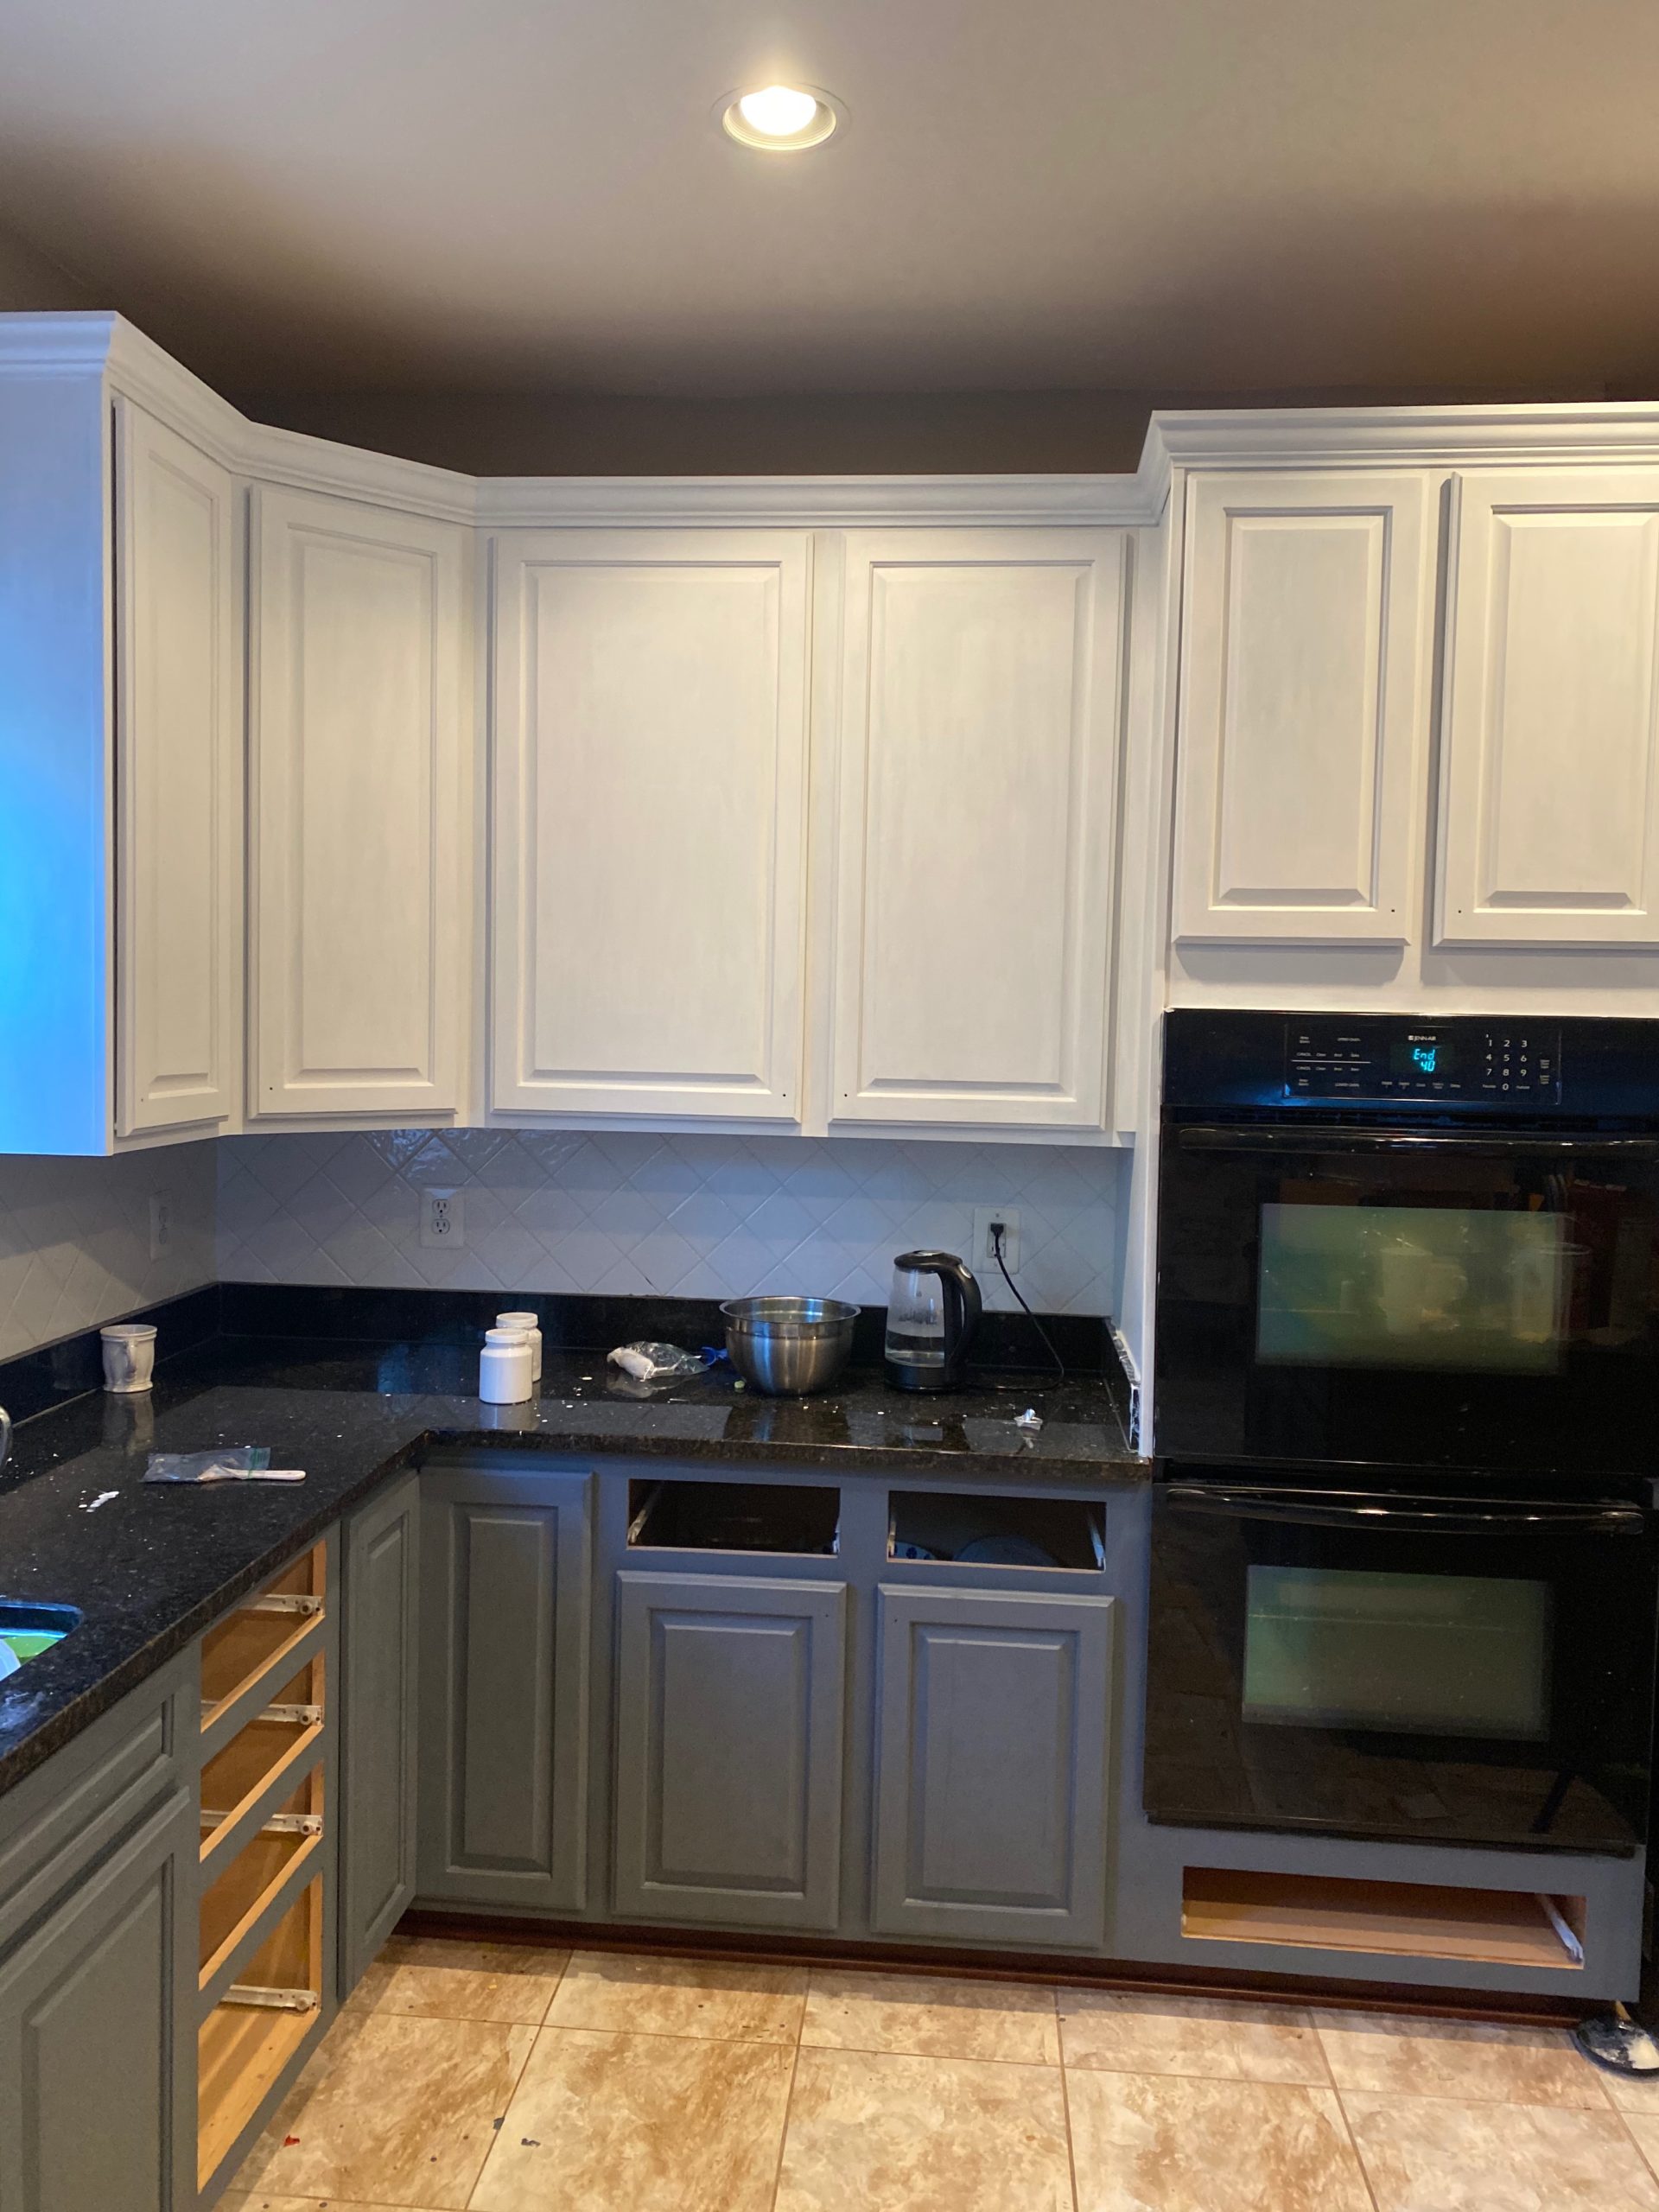
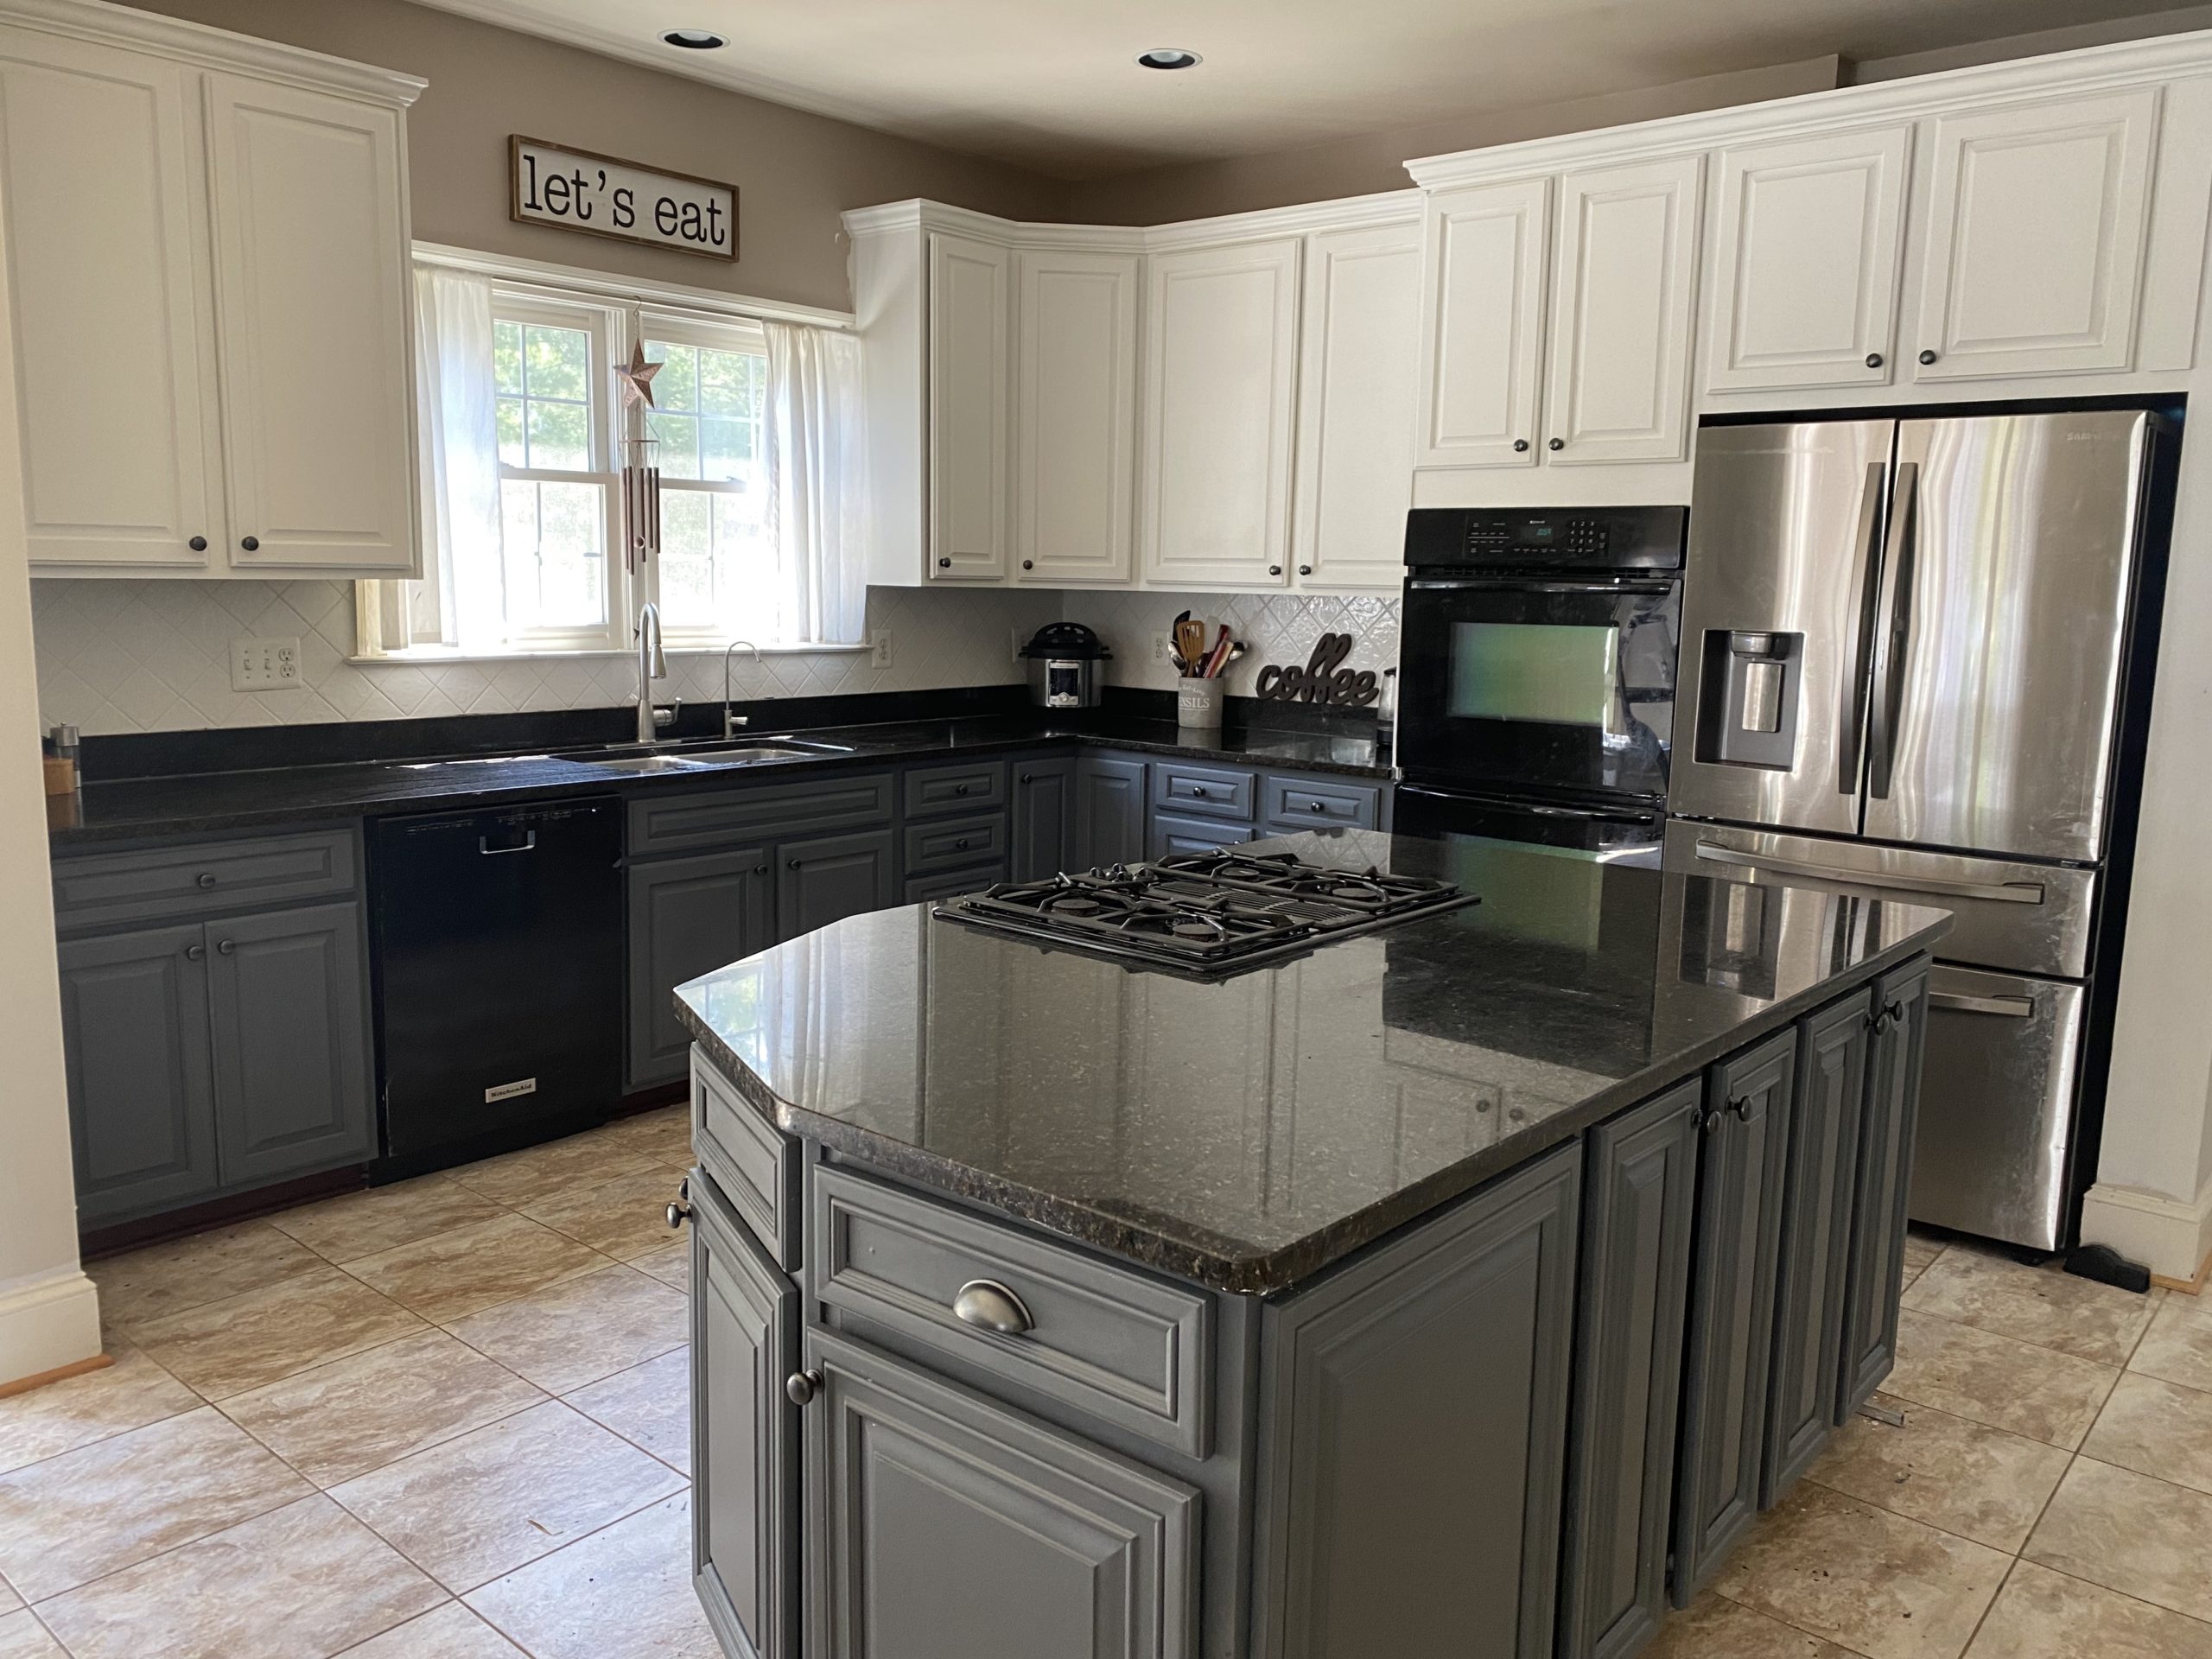
I wanted to paint the lowers and island a different color than the uppers. I was going back and forth between a light gray and darker gray. I knew I wanted to go white for the uppers because I wanted to make the room look far brighter. One thing I was really worried about with the gray was that I didn’t want it to show blue. I finally decided on Fusion Mineral Paint Casement for my white uppers and Fusion Mineral Paint Soap Stone for my lowers and island.
I wanted to complete the stop in as few steps as possible. Totally sanding the cabinets down was out of the question for me. Just something I was not willing to do. I also didn’t want to prime. I had learned online from others that both steps can be largely skipped with this paint. I say largely because it did seem like a light sanding just to rough up the surface a bit was recommended. Okay, I can do that.
Fusion Mineral Paint can be a bit harder to get your hands on since it’s the boutique shops that carry it. You don’t just walk into a big box store and get it like other paints. I found a location about 45 minutes from my house that had the colors I wanted in stock so I placed an order online so it would be ready for me and took off.
When I got there the sweet shop owner had the paint bagged up for me and ready to go. After a conversation with her, she strongly recommended I prime. Ugh. But she was very helpful and clearly experienced with this paint. So I decided to go with her suggestion for the island that had the black color. The primer she recommended was a Zinnser primer so I decided to try that.
Prepping kitchen cabinets for painting.
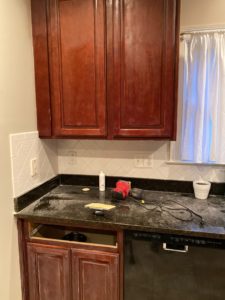 I did buy the Fusion TSP to clean the cabinets. I don’t have a strong opinion on this product after working with it. It did clean the cabinets. Although it worked just fine, I’m not sure that it did a better job than the castille soap dilution I would have normally used as a cleaner and degreaser. Cleaning the cabinets well is definitely a crucial step in the process of redoing your cabinets. You want to have a nice, clean, grease-free surface to work with.
After I cleaned the cabinets I started the process of roughing up the cabinets. I just bought a hand sander and quickly lightly sanded the cabinet surfaces. I didn’t take off any of the color, it just made the cabinet surface more grippy for the coming paint job. After I lightly sanded all of the cabinet surfaces with a little hand sander, it was time to get started with the fun part. I couldn’t wait to cover all of the darkness that had existed in my kitchen for far too long. Brighter cabinets ahead!
Painting my kitchen cabinets.
 When I started using the paint I was absolutely thrilled. This paint just glides on. This makes painting so much easier. It is a thin paint, which means it can take more coats but the paint is excellent and it is a self-leveling paint so no brush strokes! I also didn’t get problems with paint drips showing up on the cabinets. So even though it took several coats to cover my darker colors, it was well worth it. And the paint was so easy to spread, coats went pretty quickly.
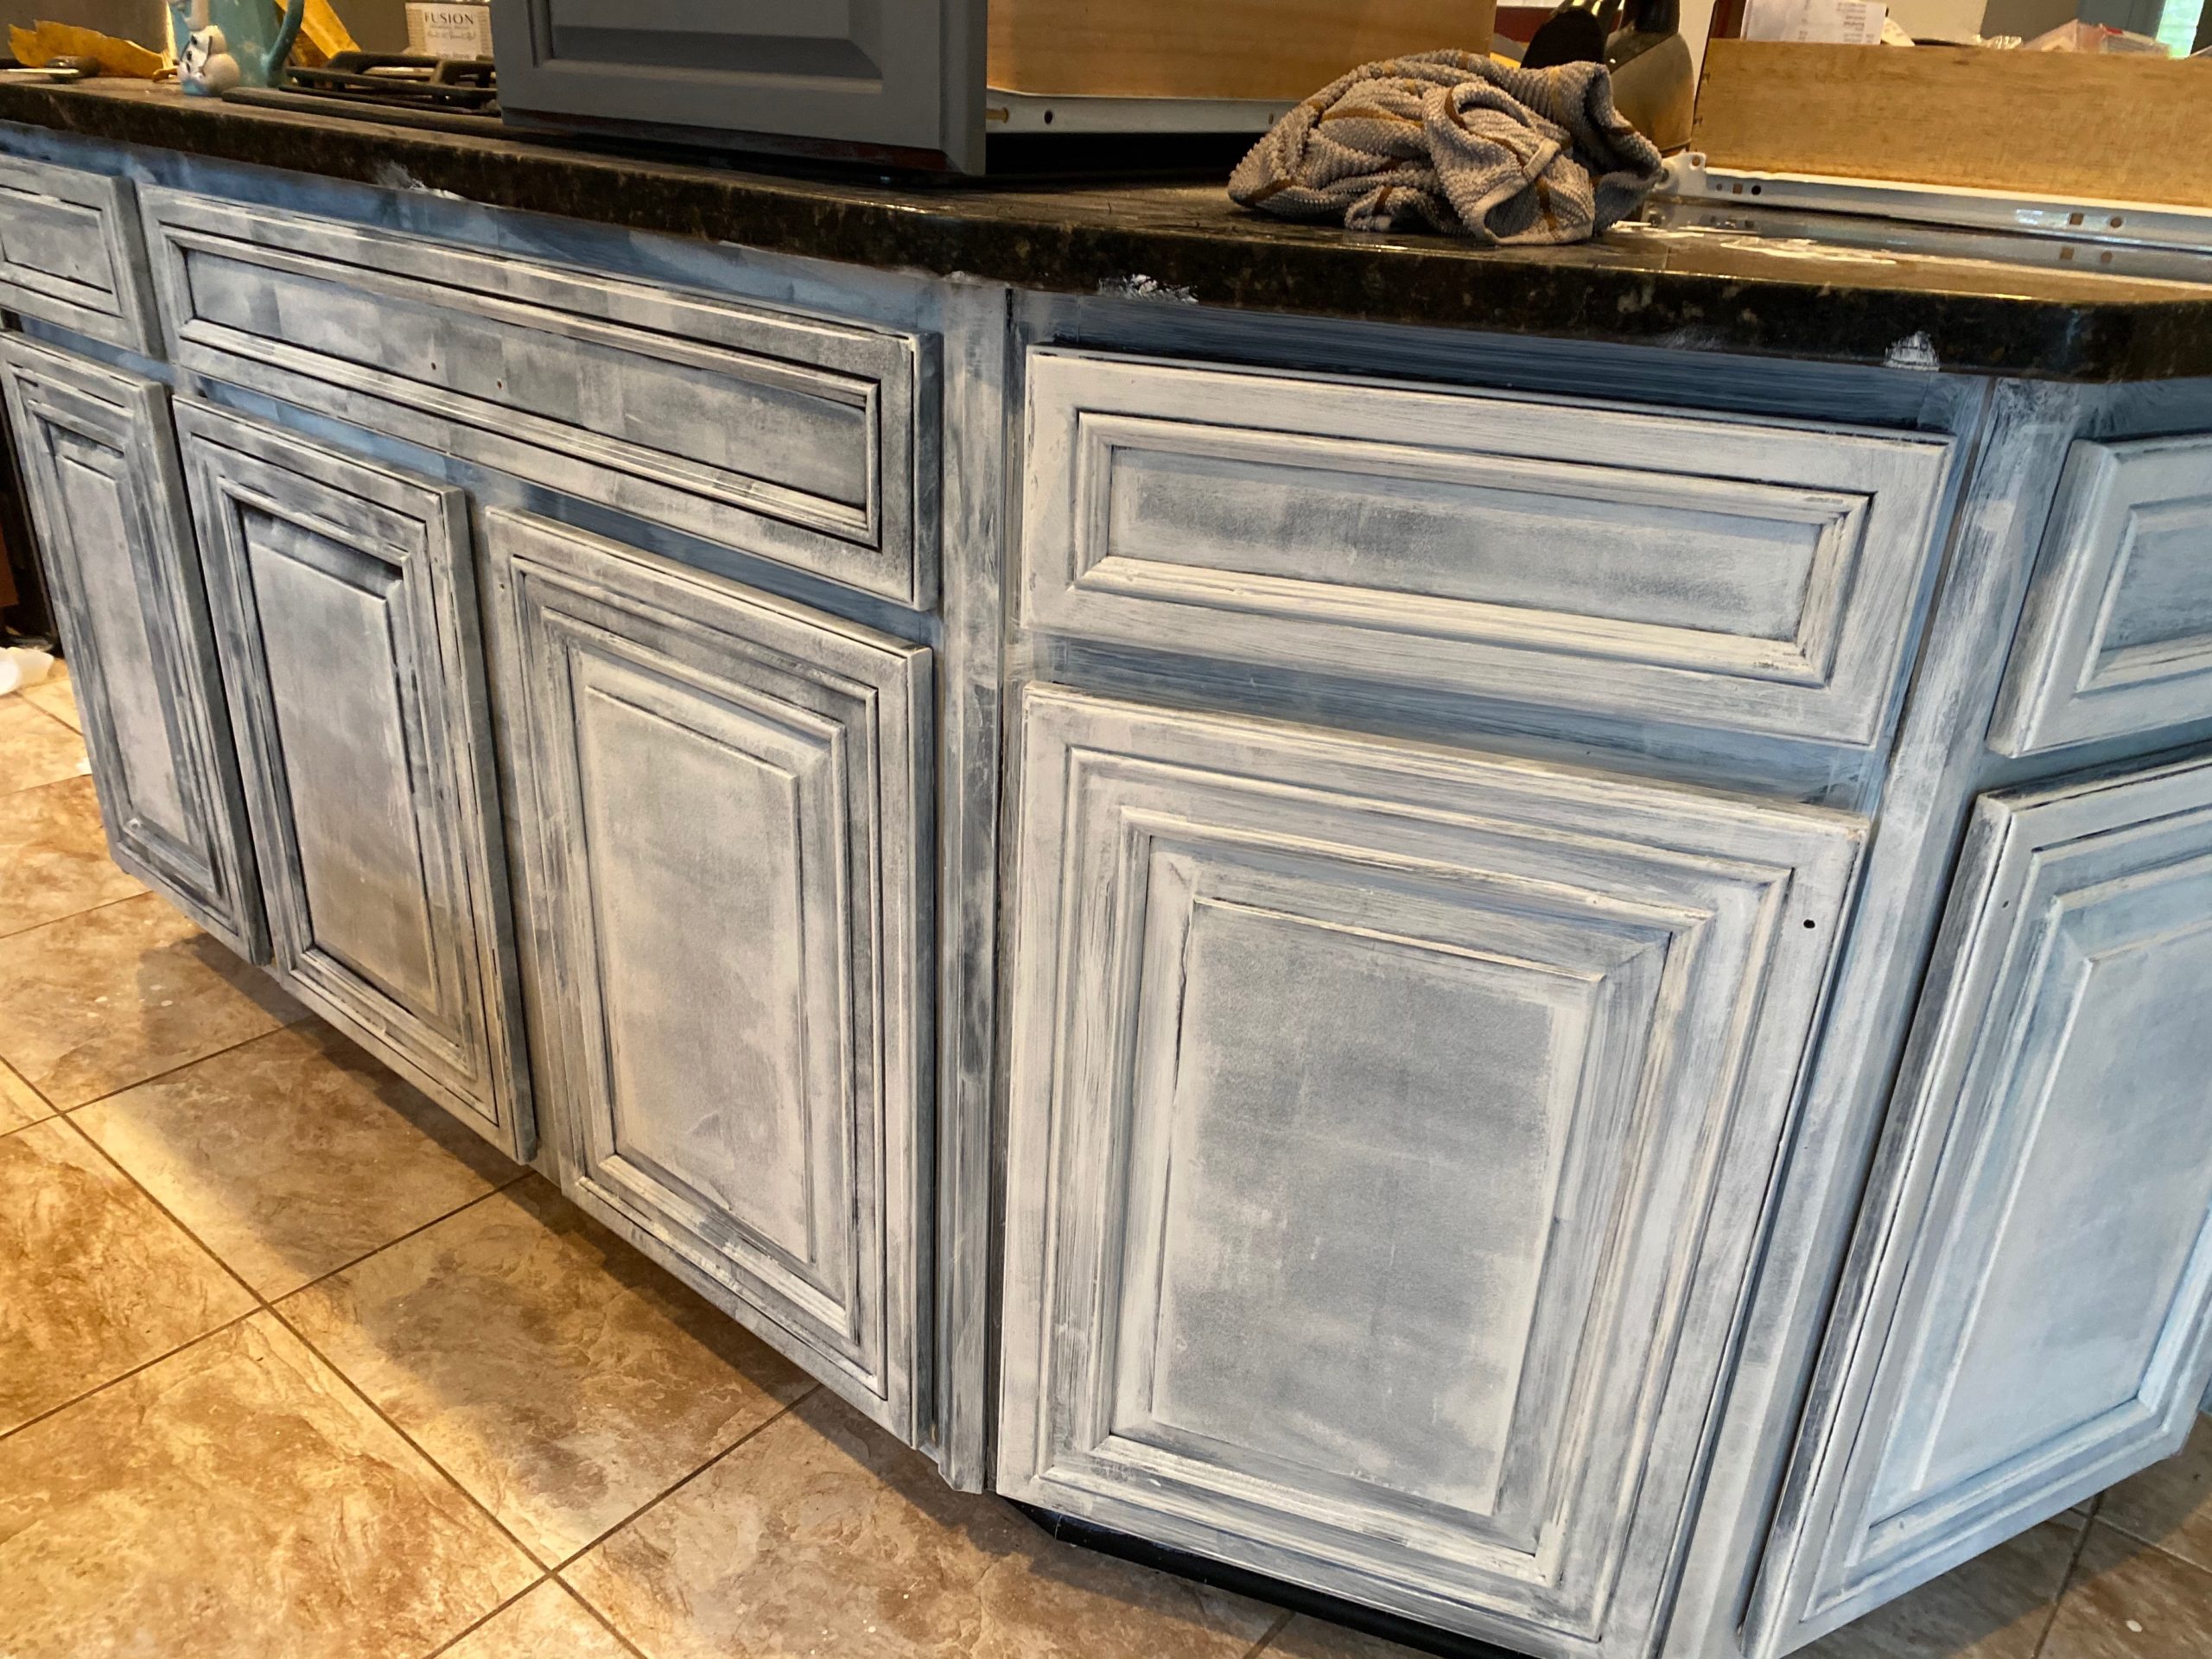 I had seen recommendations from others to use a foam roller. I completely disagree. When I tried using a foam roller with this paint it tended to introduce too much air. I did not like the look when it went on the cabinet at all. I ended up going with soft synthetic brushes and this is just perfect for Fusion paint. Taking my cherry uppers to white took around five coats of paint to completely smooth out the color. Taking my lowers from cherry to the dark gray Soap Stone color only took a couple of coats. I found that even though I used a primer on the black island, it took the same two coats to take the island cabinets to the Soap Stone color. I don’t feel like priming this added to the ease of painting or the durability. I would probably scrap this step if I had to do it all over again.
A couple of days after the last coat of paint went on, I coated the cabinets with a hemp oil as a finish. This gave it a glossy sheen and helped to protect the paint. I didn’t really want to do a poly over the cabinets and was trying to keep it as simple as I could from start to finish.
Now here is a big factor, or at least it was in my house. Cure time. I have a house full of rambunctious kids. They are not easy on ANYTHING. Cure time is supposed to be around 21 days with this product. I found that my cure time was closer to two months.
 I suspect this was largely due to the fact that I painted in cold weather and we don’t keep the house very warm. It took at least two months before I stopped noticing chips appear. It happened to just a few doors. It was the most widely used cabinets that experienced chips. I found this happened to the silverware drawer, cabinet where the glass were kept and the pots and pans cabinet.
Another issue that cropped up over the winter was that the cabinet paint had cracked in some of the crevices on the doors where they put the raised panels in.  This was related to the temperature changes in my house and I’m sure this would have occurred with any paint. Easy peasy. I just slapped on some plastic wood filler, let it dry and painted over it.
In my opinion touchups are where this Fusion paint really, really steps up. Guess what I had to do to touchup? Just paint another coat on and around the paint chips. I had read that you should sand the area first. Nah, I didn’t want to do all of that. So I decided to try the lazy way and just took out my synthetic brushes and slapped some paint on it. You absolutely can not tell any chipping or touch ups took place.
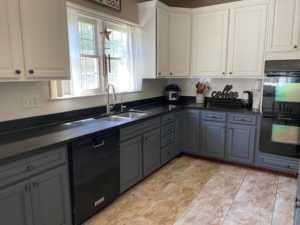 If I had it to do over again I would absolutely still use Fusion Mineral Paint. I think it was amazing. It is amazing to see the amount of coverage you can get in a very small package. What a simple and beautiful way to brighten up your kitchen and avoid the astronomical expense of purchasing new kitchen cabinets. Done correctly, this paint can give your kitchen, and your mood, new life. Before I started I was terrified to touch my cabinets, but I’m so glad I did it.
How to paint your kitchen cabinets:
- Clean the kitchen cabinets and pull of the hardware. There is no reason at all you need to remove your cabinet doors although I do recommend removing the drawers to make things easier and less messy.
- Lightly sand surface with hand sander to rough up surfaces.
- Paint cabinets using Fusion Mineral Paint.
- Repeat paint until cabinet looked smooth and uniform making sure the paint is completely dry before you start a new coat.
- Seal paint with hemp oil brushed on.
I am now going into my 8th month with this paint and except for the nicks caused in the first couple of months by my rough kids, it has held up beautifully. I haven’t seen any new nicks in the past 5 or 6 months and believe me, they are still just as rough.